When it comes to getting ready for work, simplicity and style go hand in hand. Natural hairstyles not only save you time in the morning but also exude
When it comes to getting ready for work, simplicity and style go hand in hand. Natural hairstyles not only save you time in the morning but also exude a sense of confidence and professionalism. Whether you have curly, wavy, or straight hair, these simple natural hairstyles will effortlessly elevate your look while keeping you comfortable and chic throughout your workday. Let’s explore a collection of easy-to-create hairstyles that strike the perfect balance between elegance and simplicity.
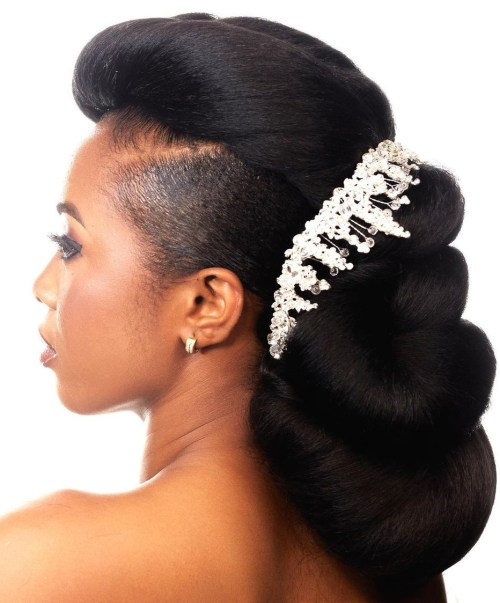
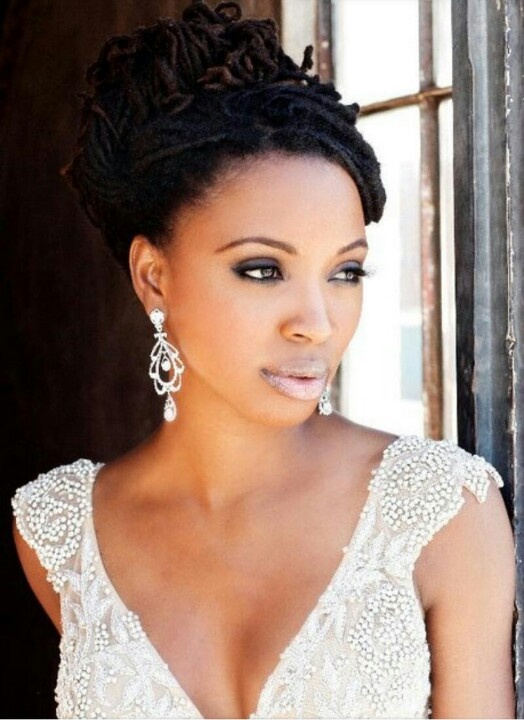
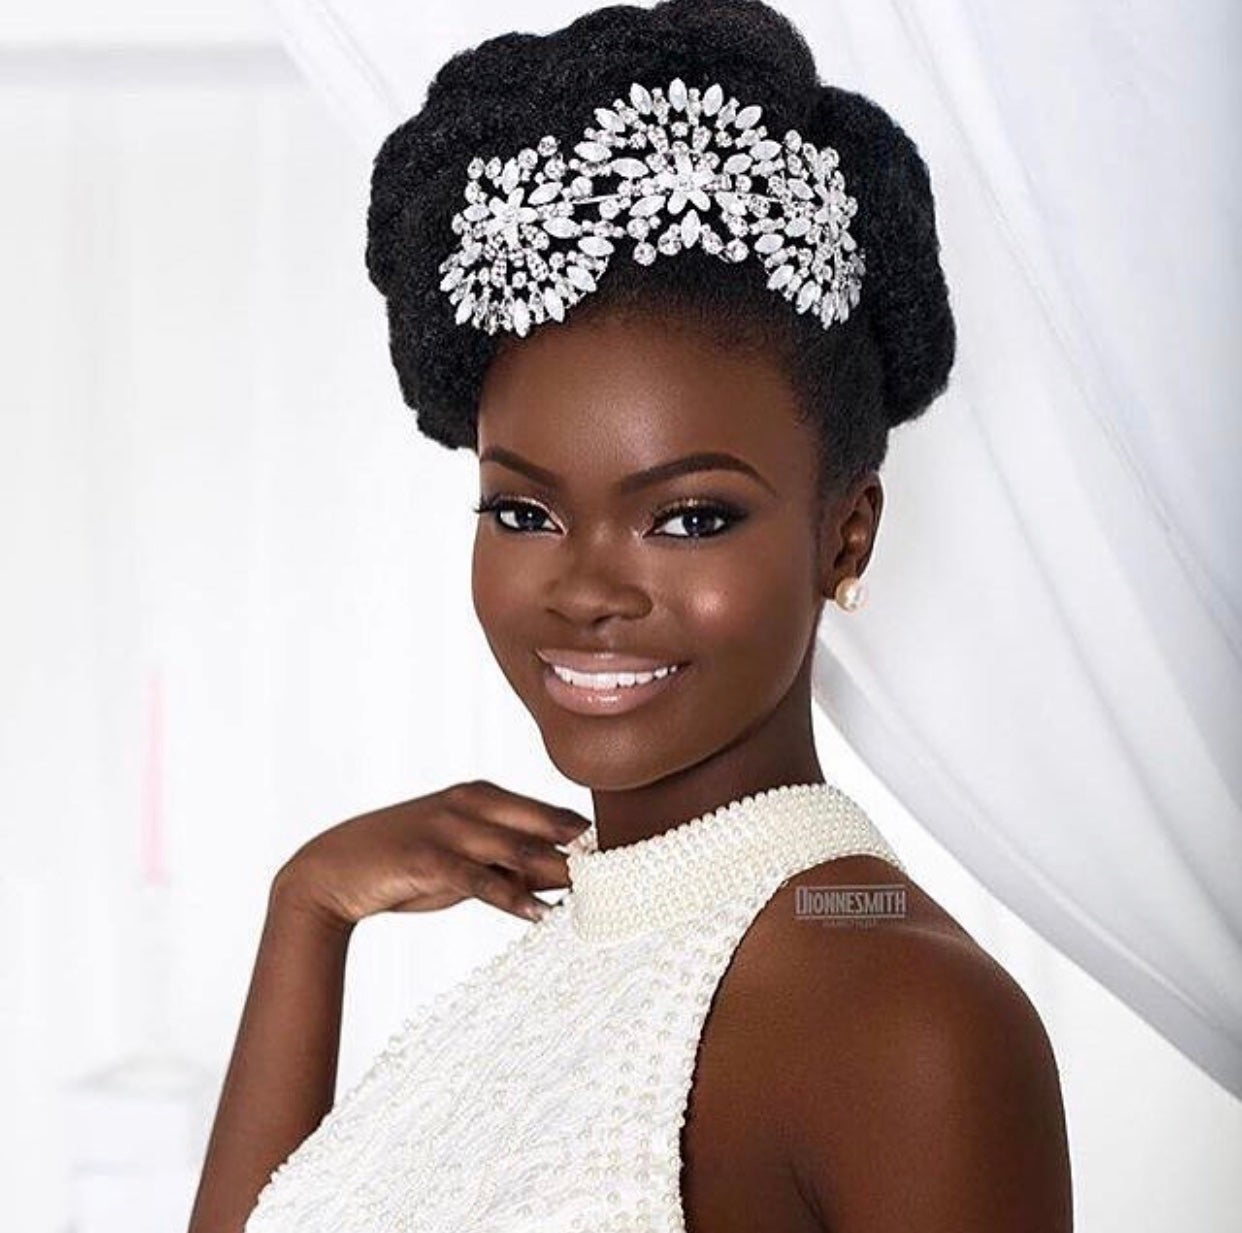
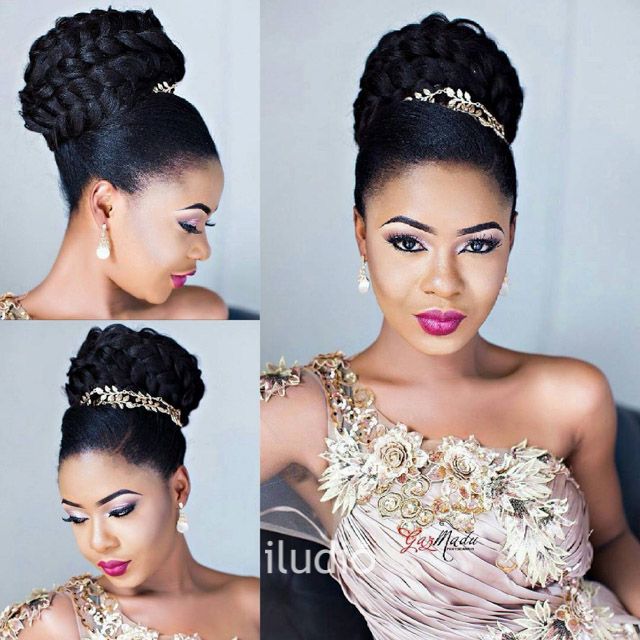
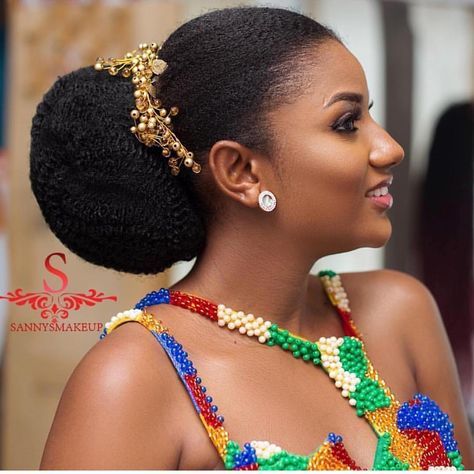
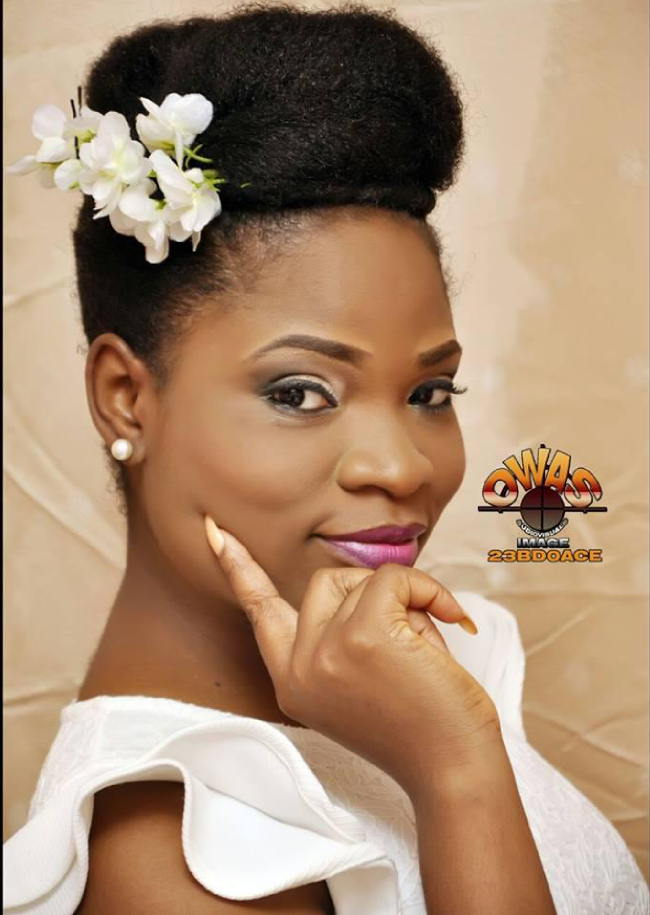
1. The Low Bun:
– Gather your hair into a low bun at the nape of your neck for a polished and sophisticated look.
– This classic hairstyle works well for all hair textures and complements any office attire.
2. The Sleek Ponytail:
– Opt for a sleek and high ponytail for a professional and streamlined appearance.
– Smooth down any flyaways with a bit of styling gel or hairspray for a sleek finish.
3. The Half-Up, Half-Down Style:
– Create a half-up, half-down hairstyle by gathering the top section of your hair and securing it with a clip or elastic.
– This versatile look combines a polished updo with the comfort of leaving the rest of your hair down.
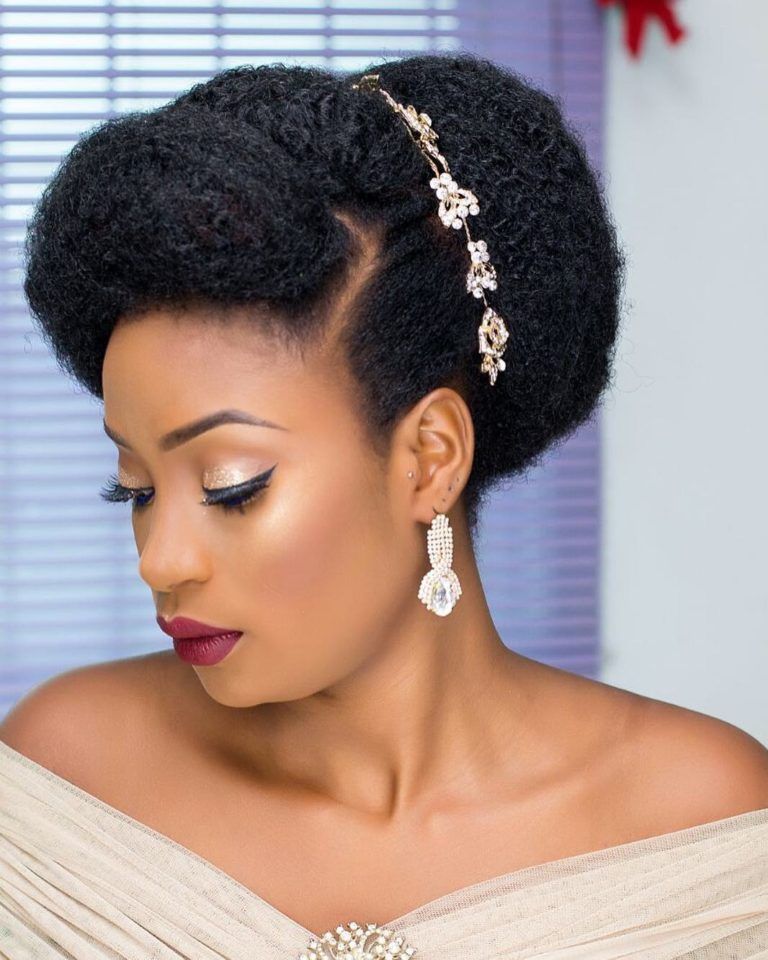
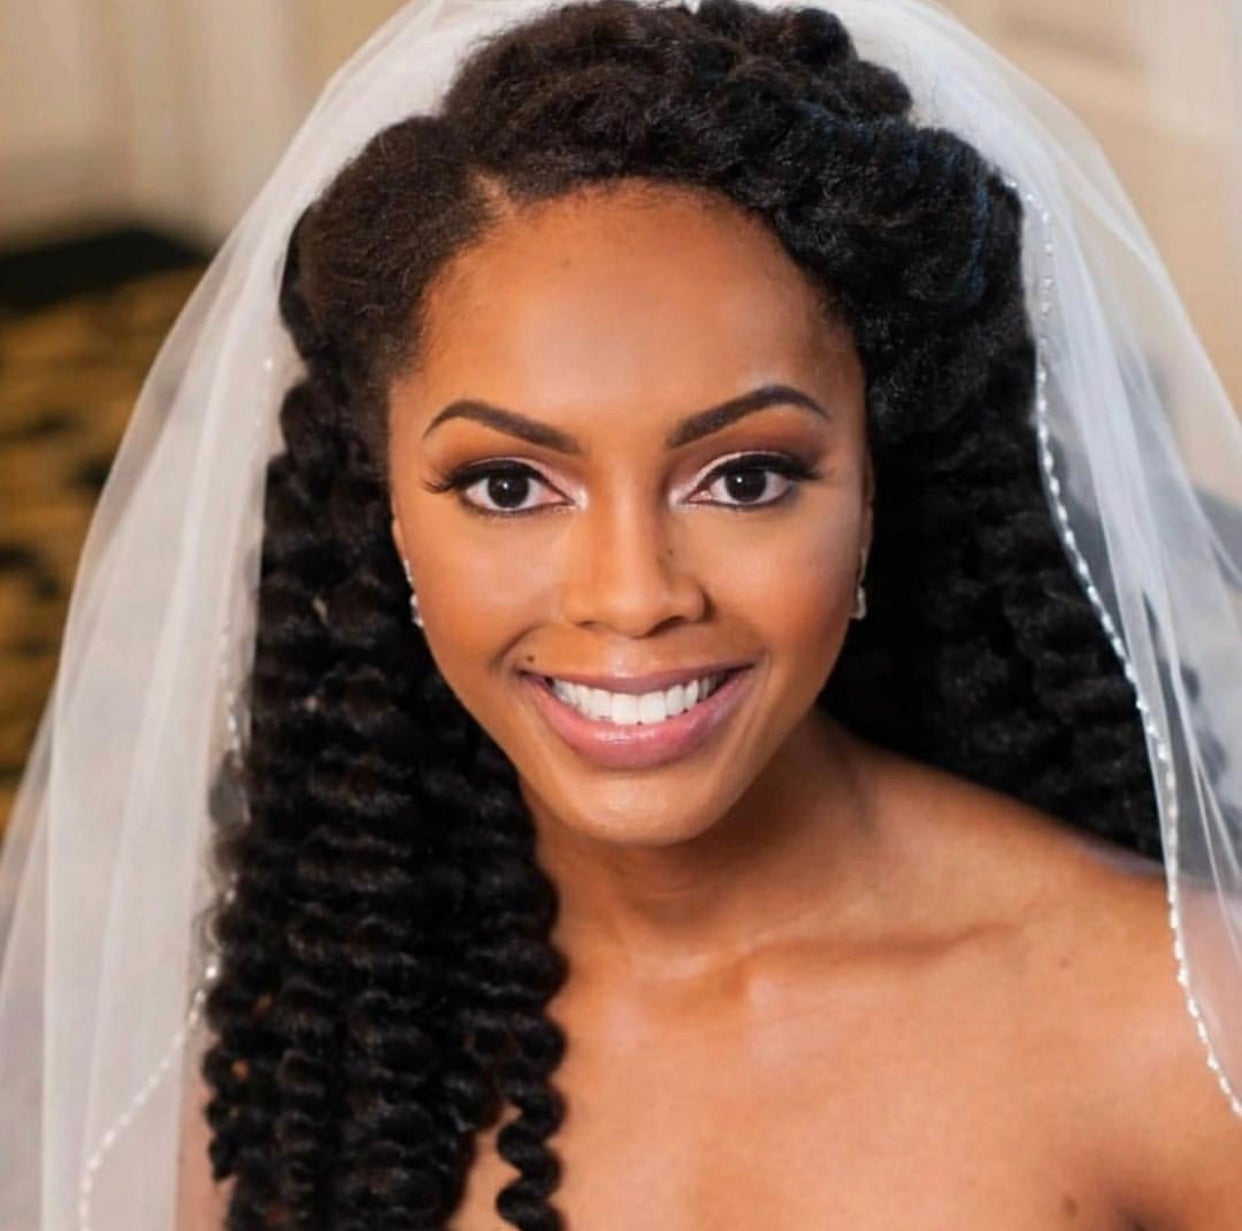
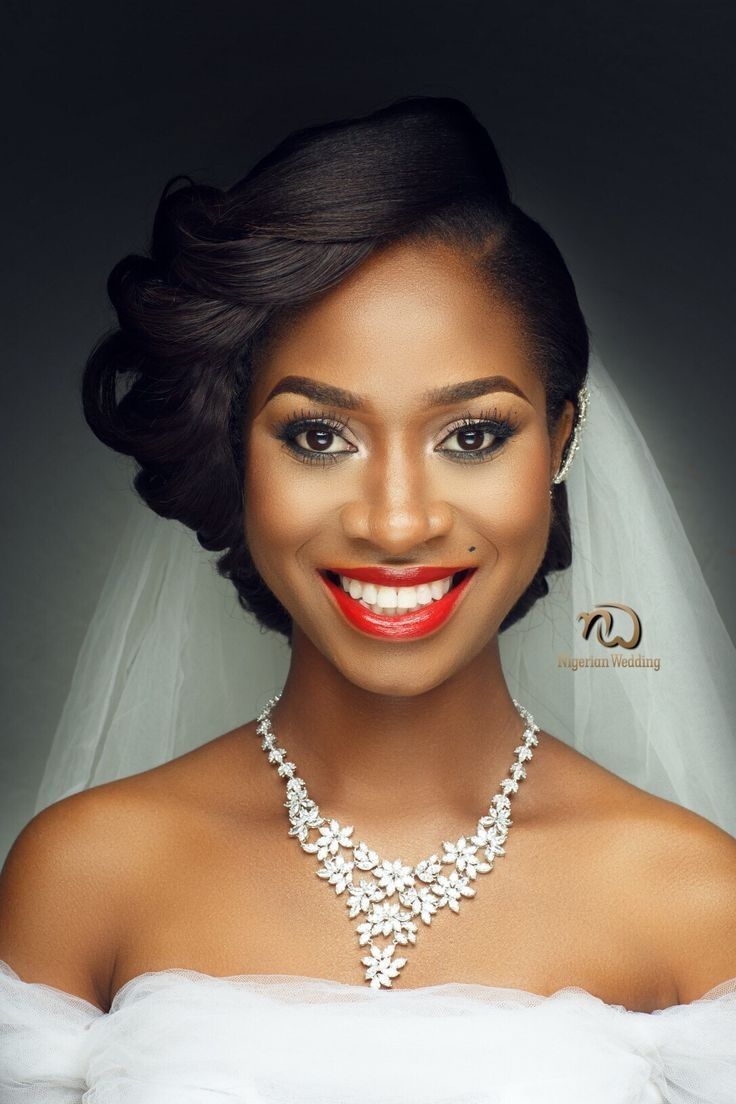
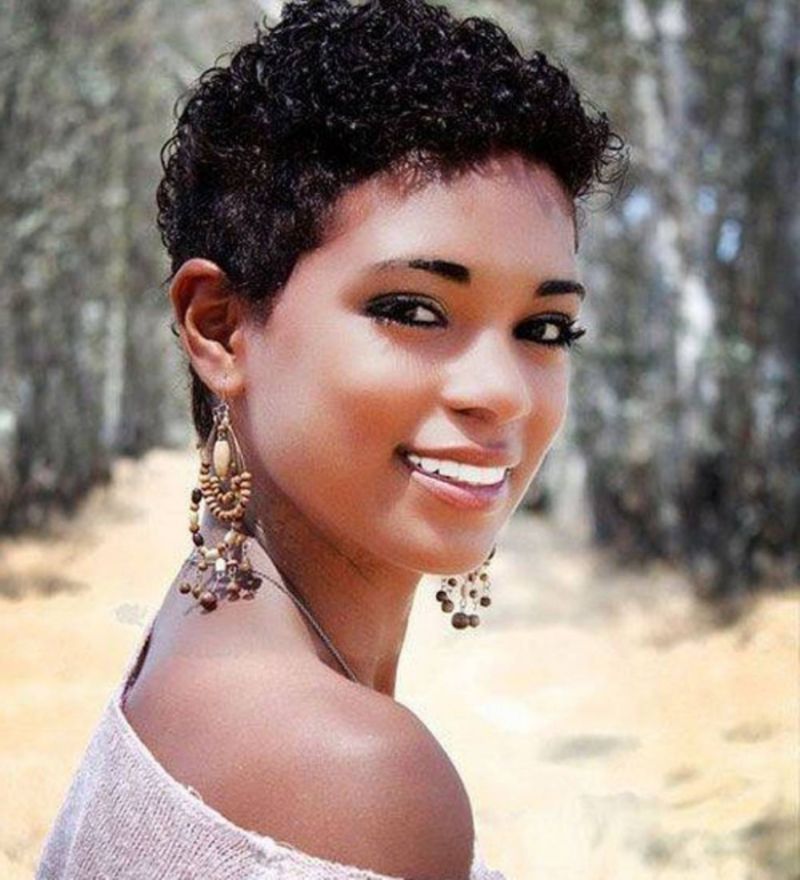
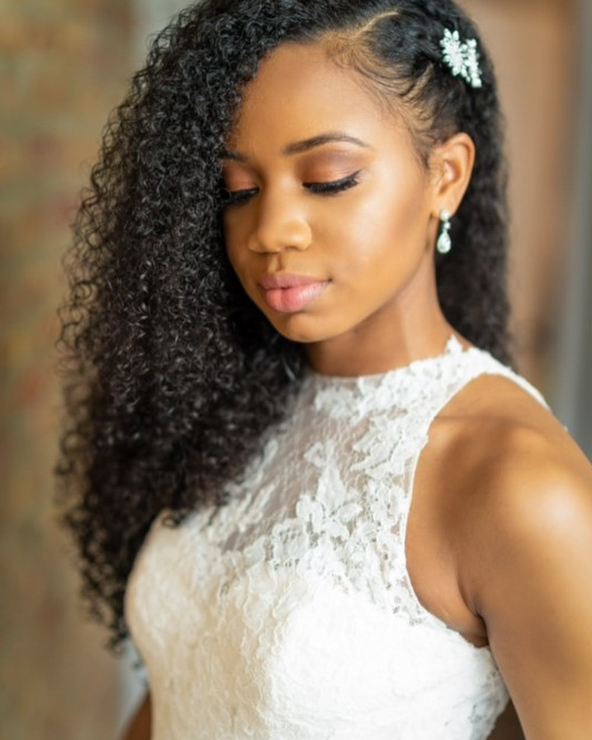
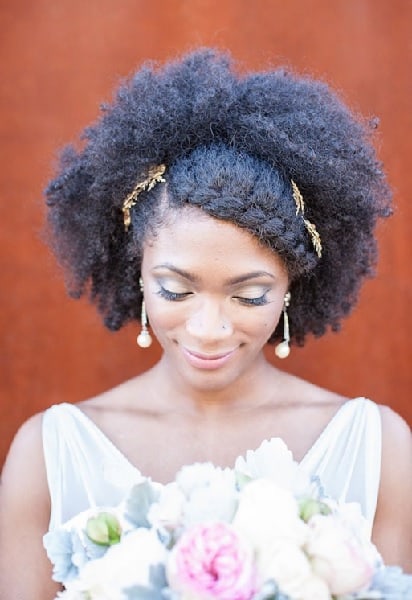
4. The Side Part:
– Embrace a side part and let your natural curls or waves flow freely for a confident and effortless style.
– Use a lightweight leave-in conditioner or hair oil to enhance your natural texture and add shine.
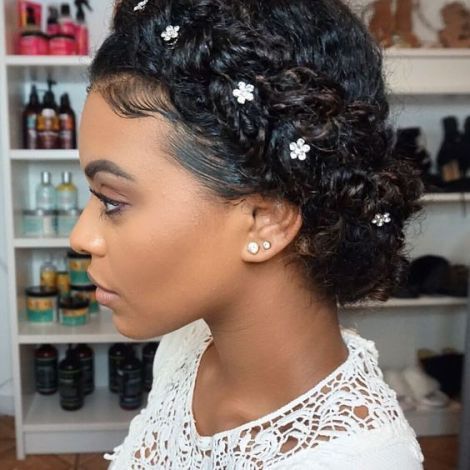
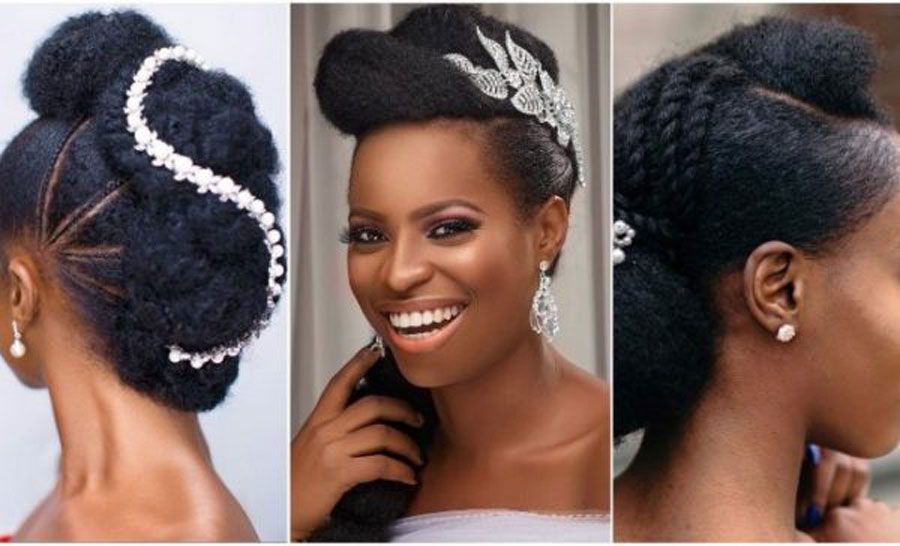
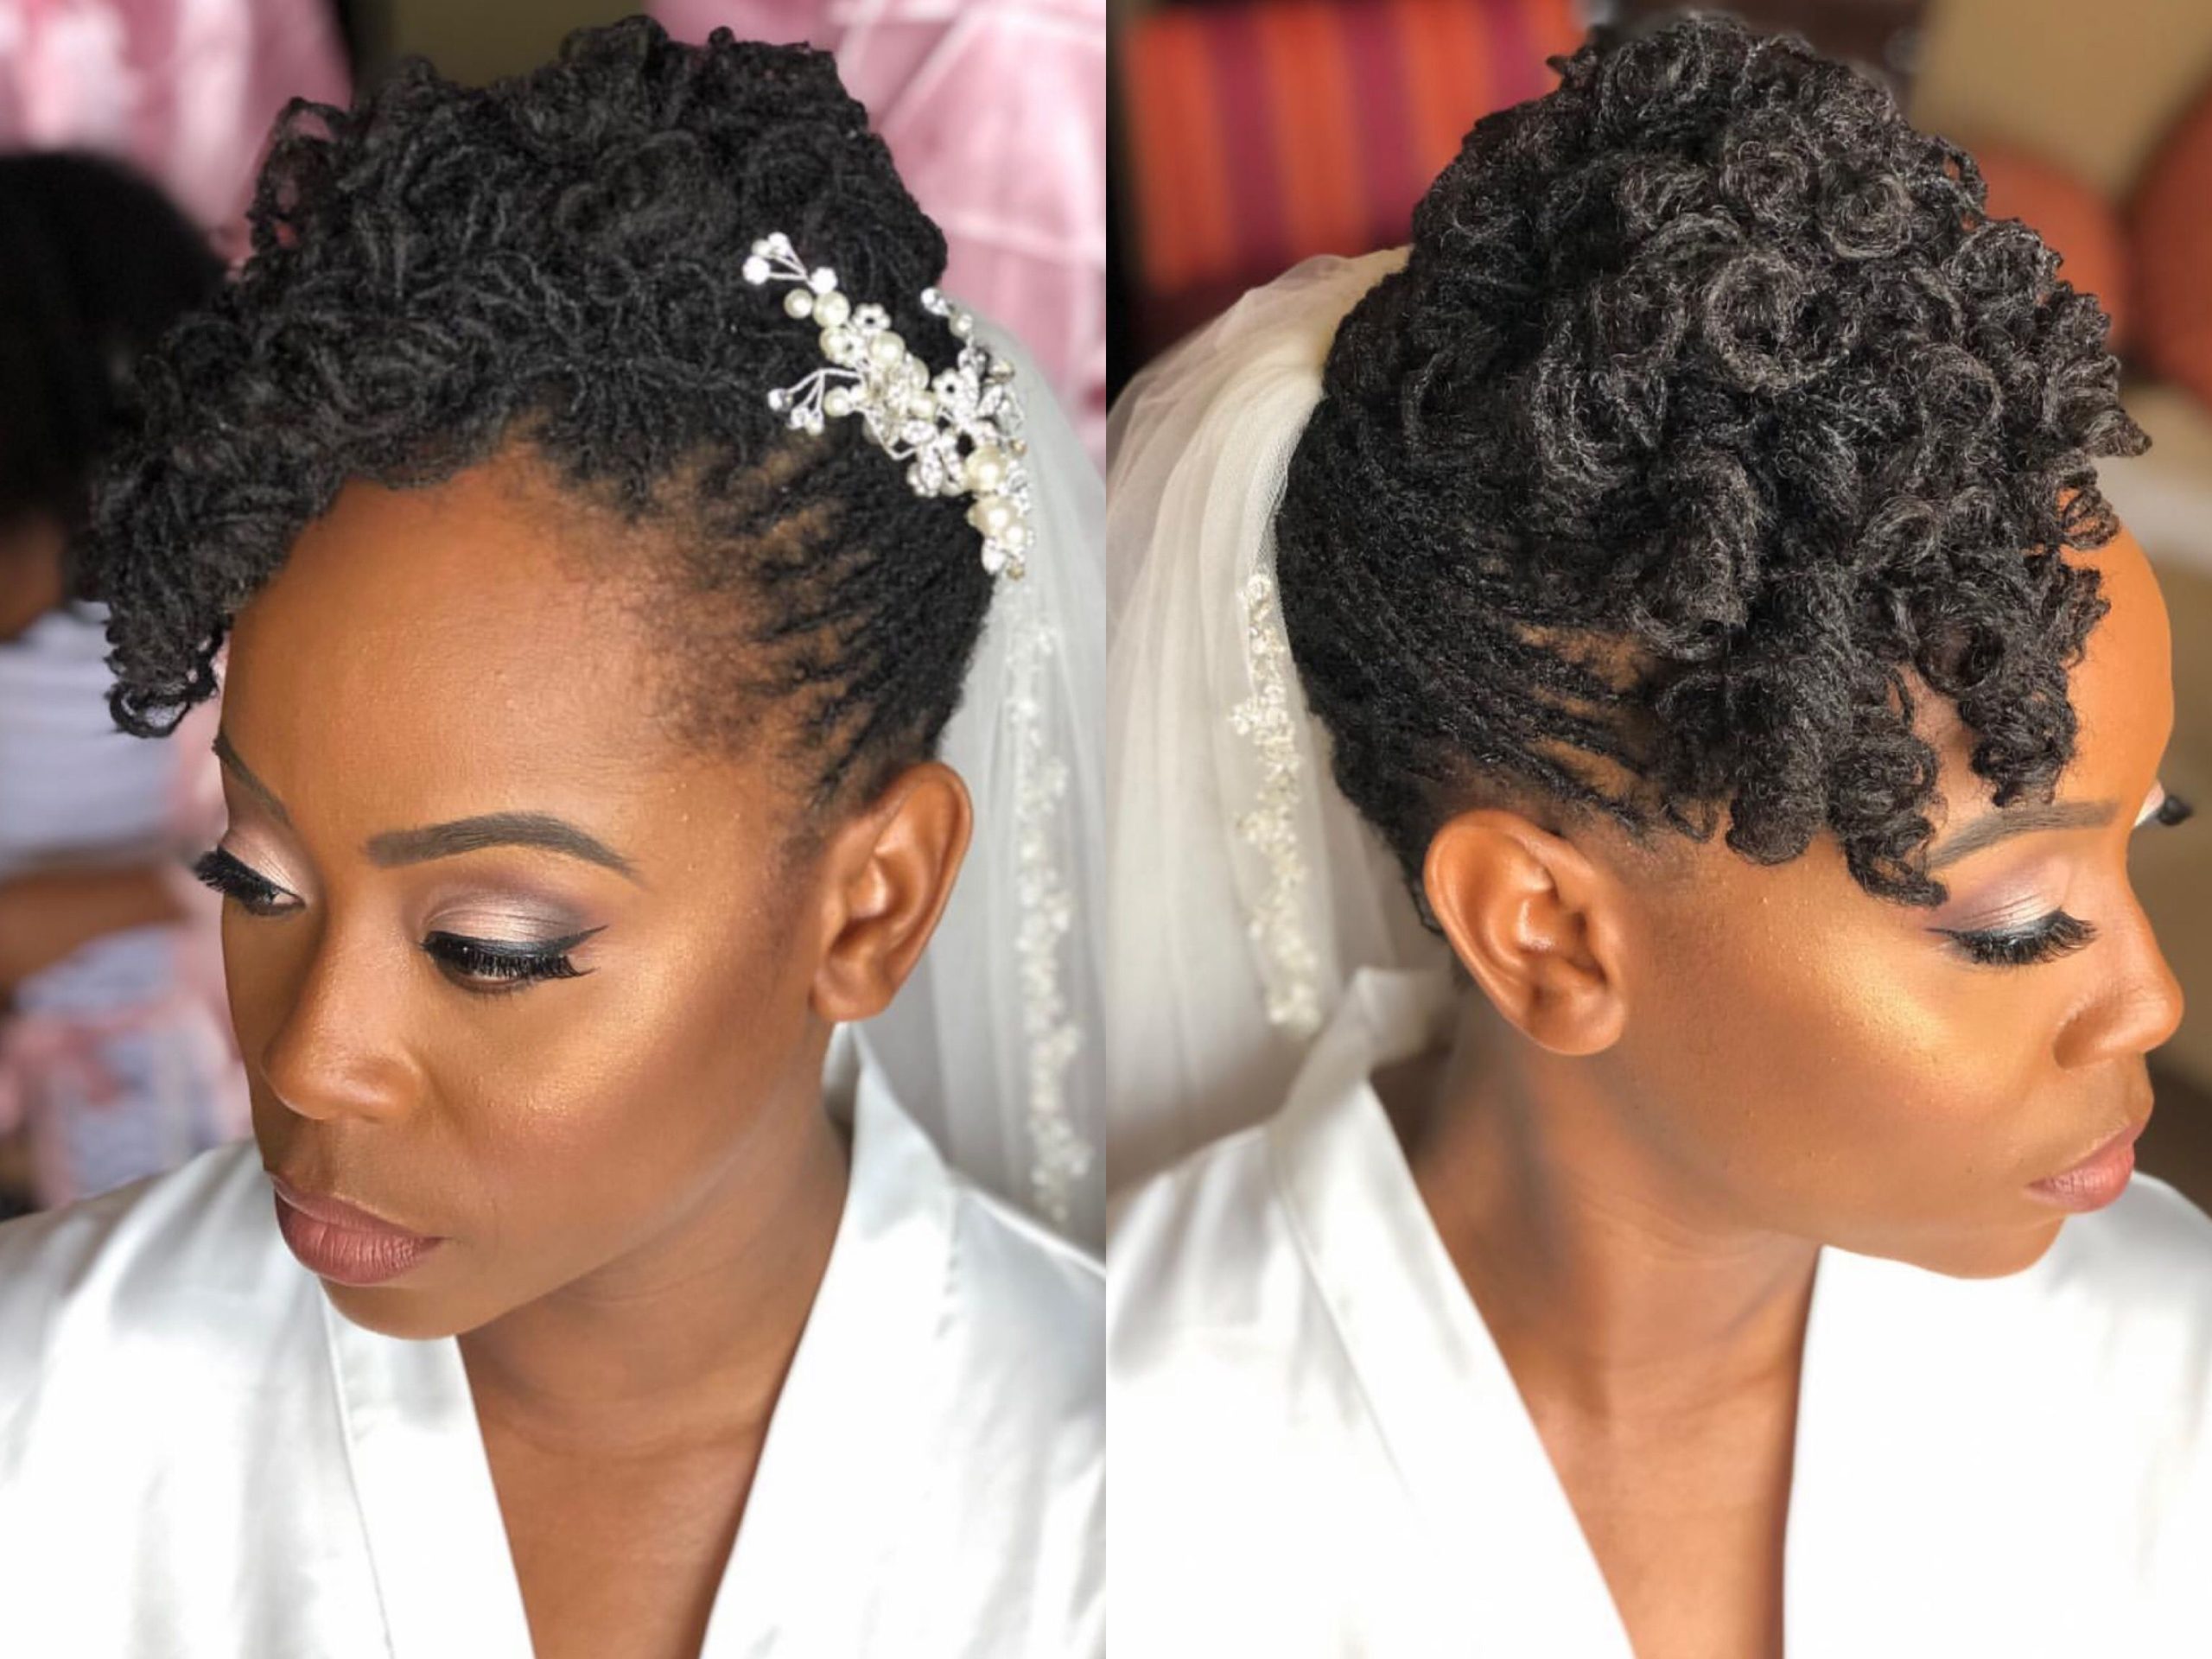
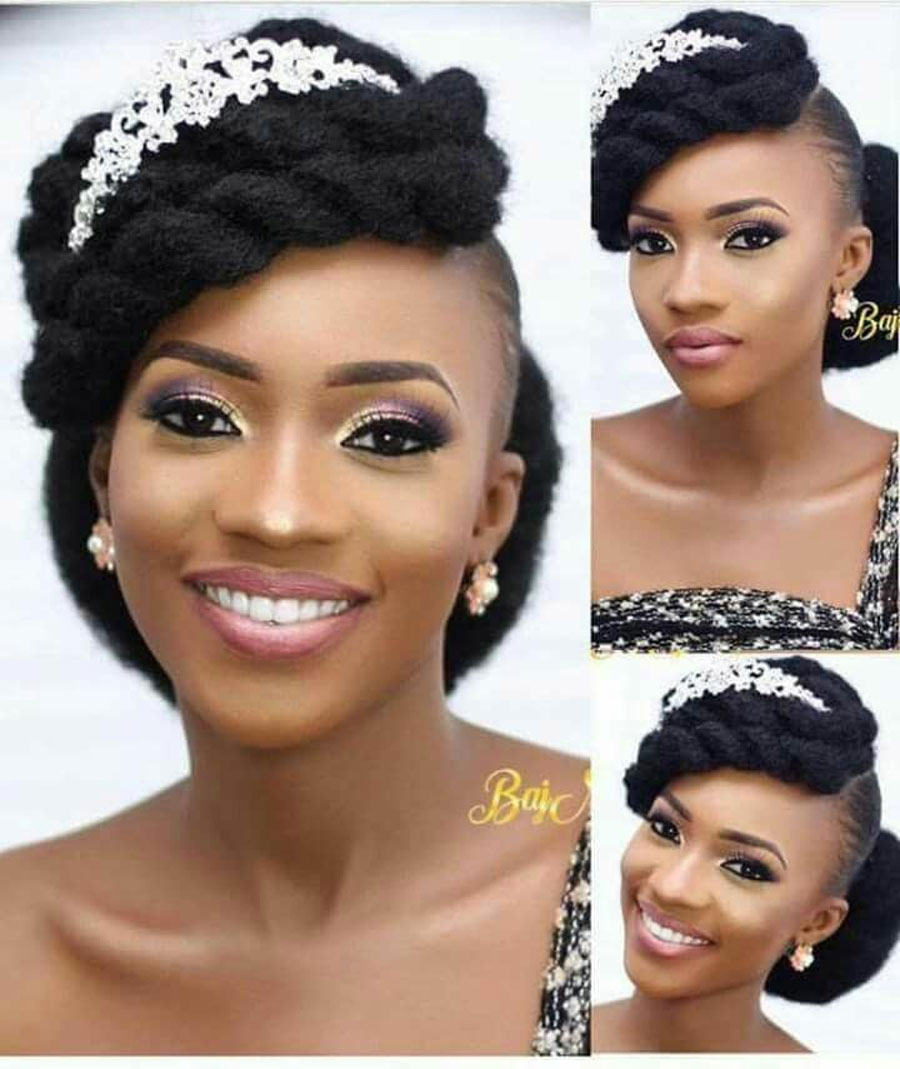
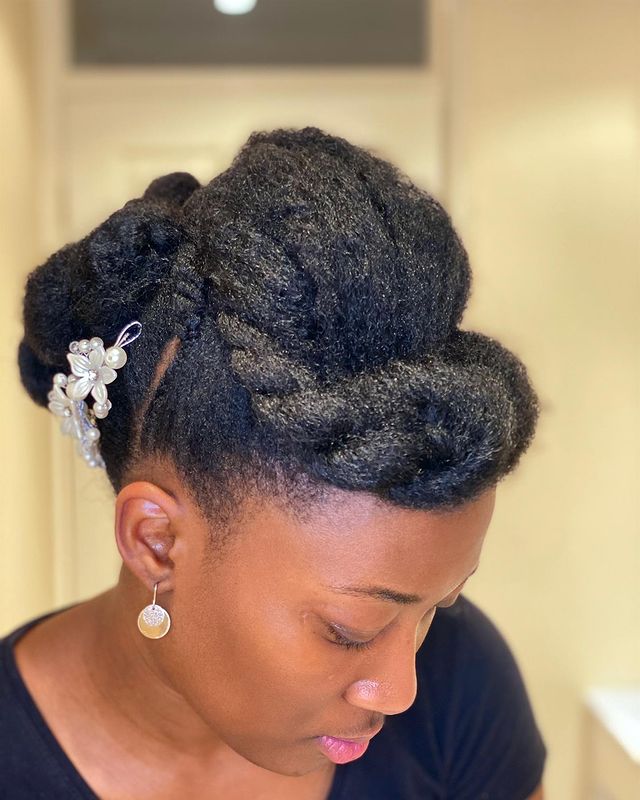
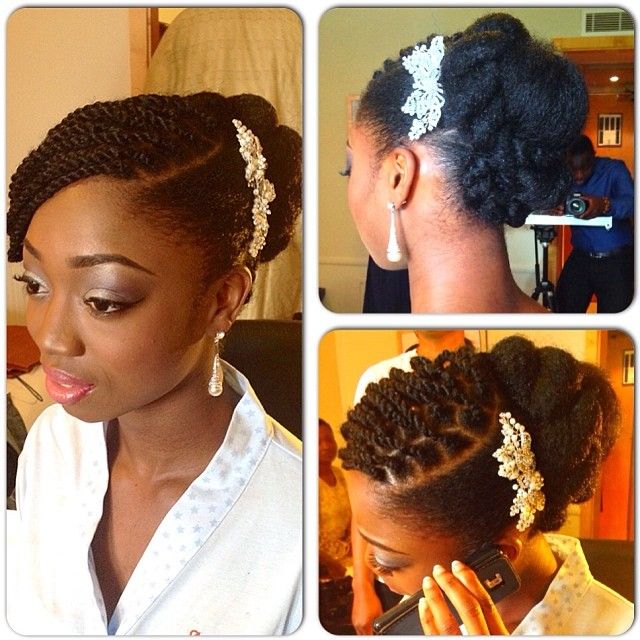
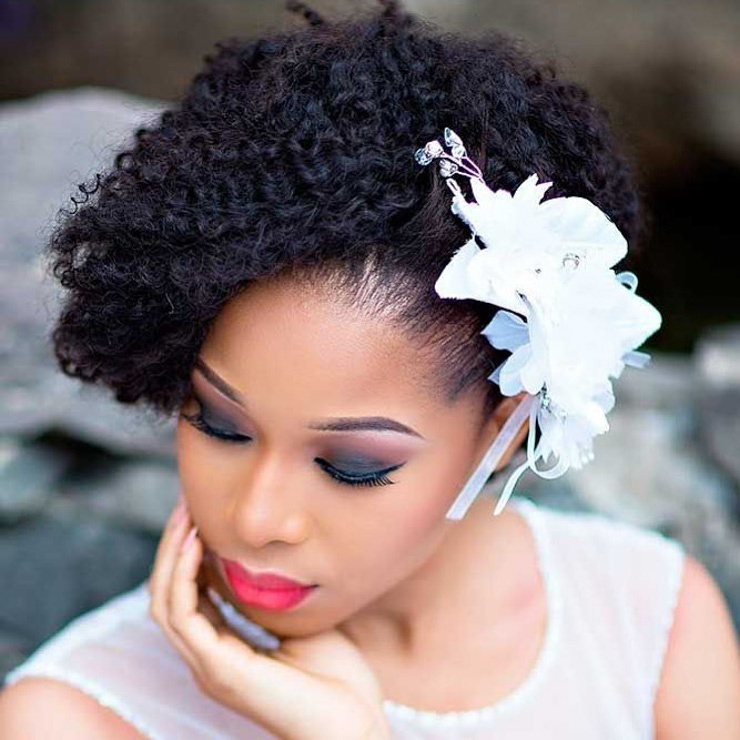
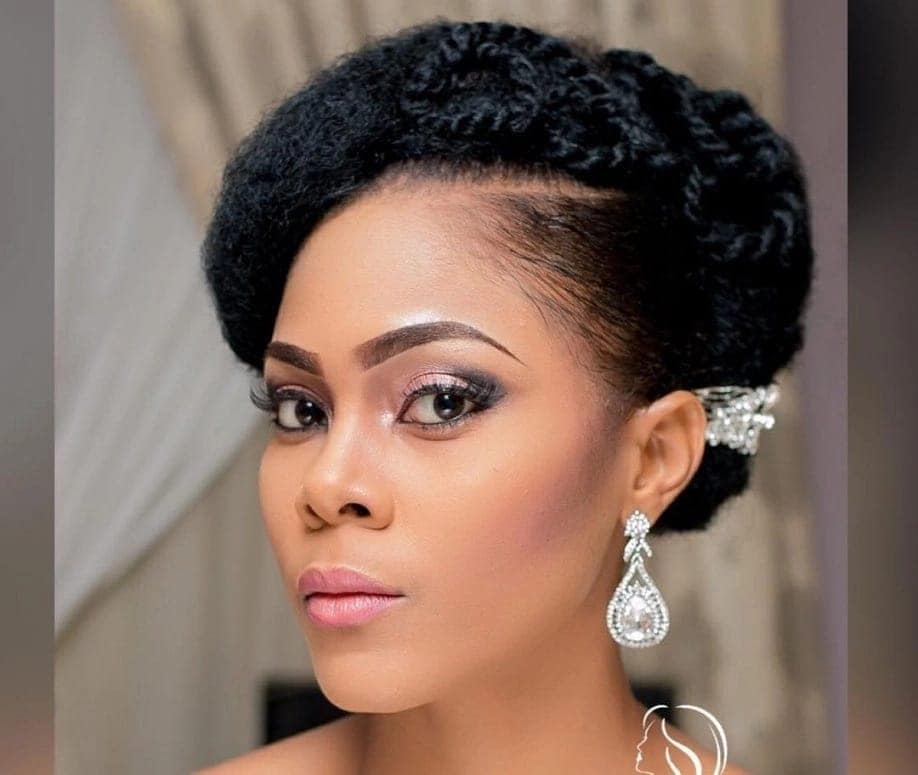
5. The Crown Twist:
– Gather small sections of hair from each side of your head and twist them towards the back.
– Secure the twists with bobby pins or hairpins to create a chic and simple crown twist hairstyle.
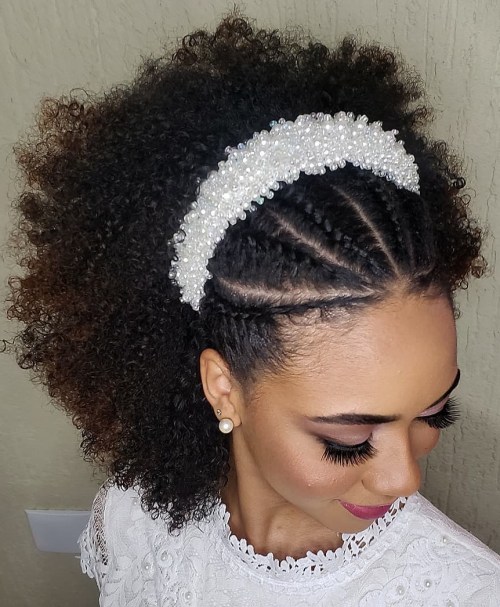
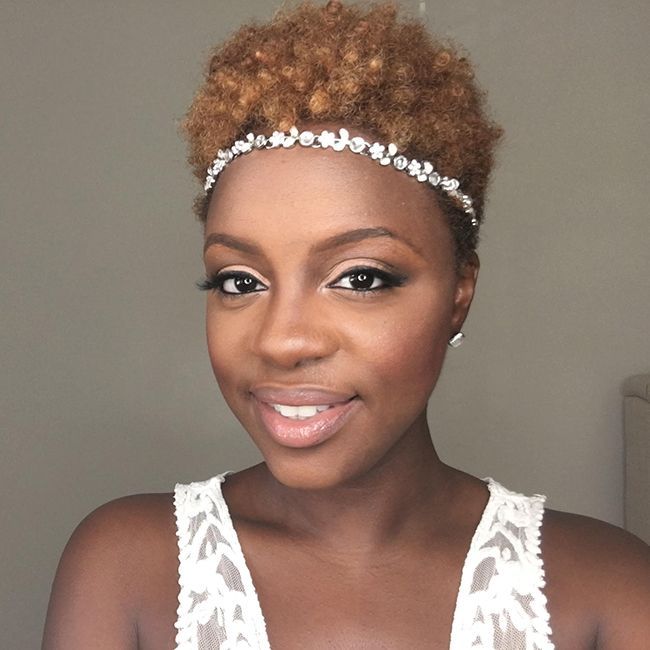
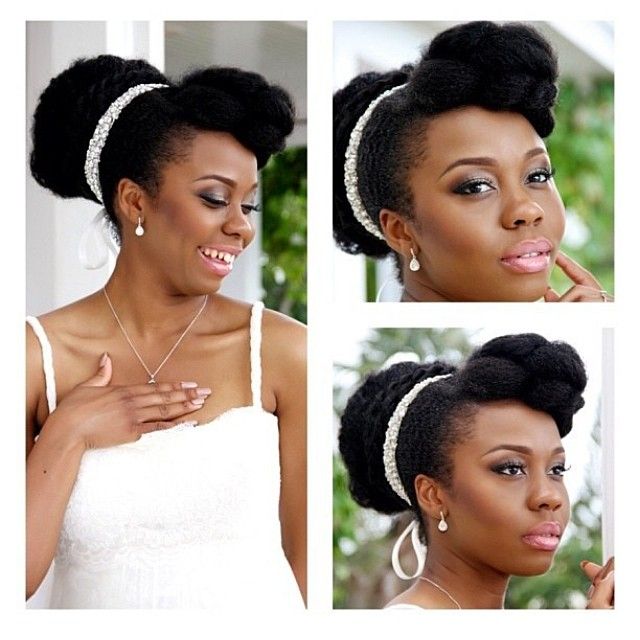
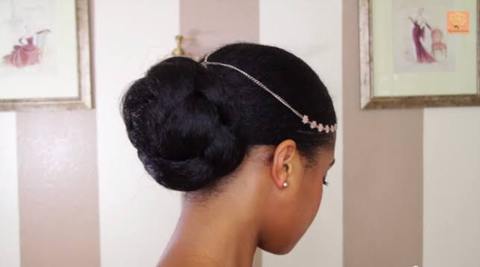
6. The Headband Updo:
– Place a headband over your hair and gently tuck the ends into the headband, creating an elegant updo.
– This quick and easy hairstyle adds a touch of sophistication to your everyday work look.
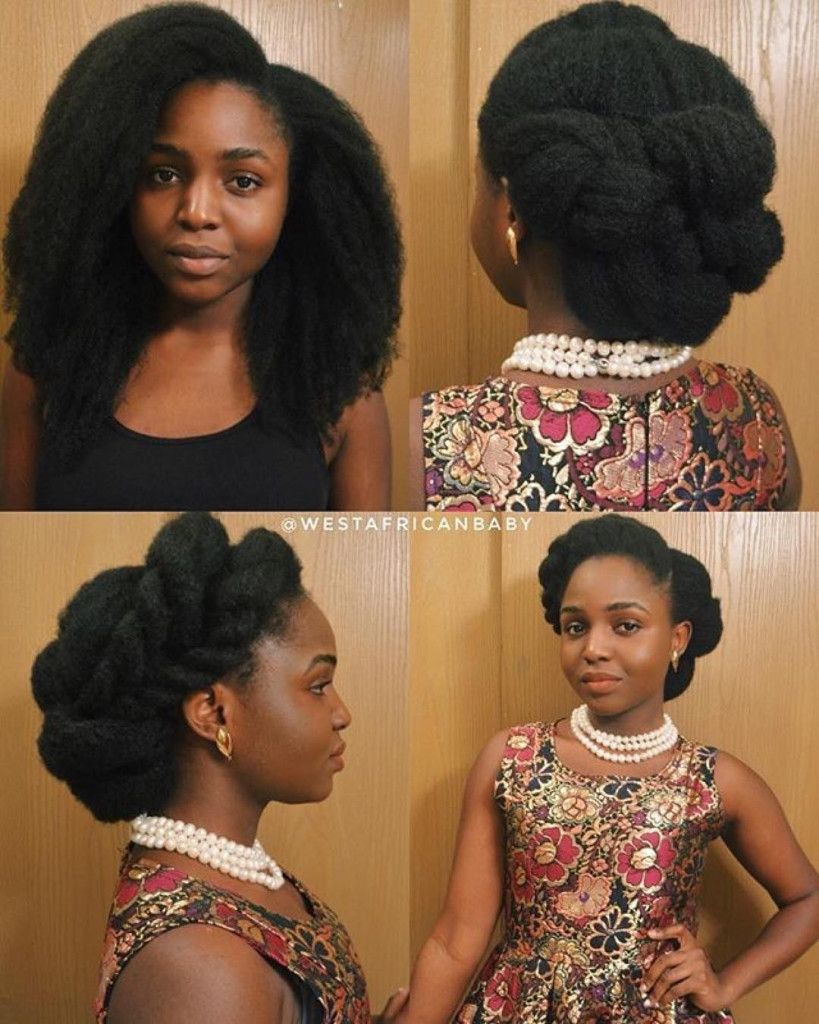
7. The Low Ponytail with a Twist:
– Tie your hair into a low ponytail and then twist the hair around the base of the ponytail to create a chic and sleek finish.
– Secure the twist with bobby pins and let a few loose strands frame your face for a soft and feminine touch.
Conclusion:
Simple natural hairstyles for work offer the perfect balance of style and ease, allowing you to start your day with confidence and grace. Whether you prefer a low bun, sleek ponytail, or a half-up, half-down style, these effortless hairstyles will keep you looking professional and put-together throughout your workday. Embrace your natural beauty and unleash your inner confidence with these easy-to-create hairstyles that enhance your individuality and professionalism at the workplace. So, step into the office with effortless elegance, knowing that your hair is both stylish and work-appropriate.
Simple Natural Hairstyles For Work – In the past, the natural hair of women was not considered professional for work. However, things have changed. More women feel confident in their hair and are able to wear it out without being judged.
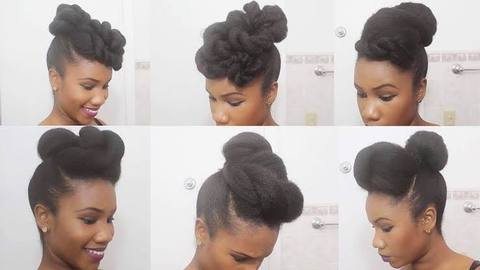
This article will show you five natural styles that you can achieve in less than 5 minutes. These hairstyles can be done at night and worn out the next day.
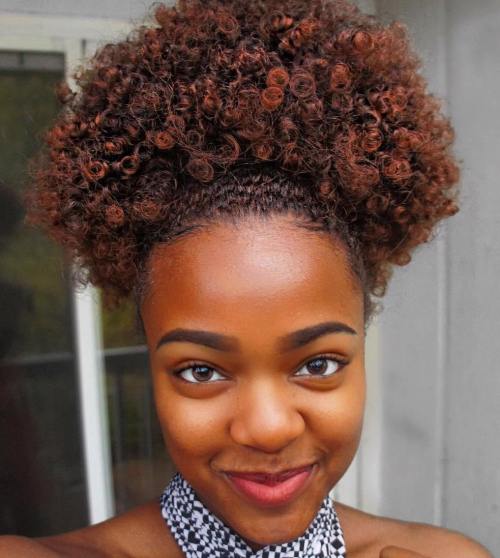
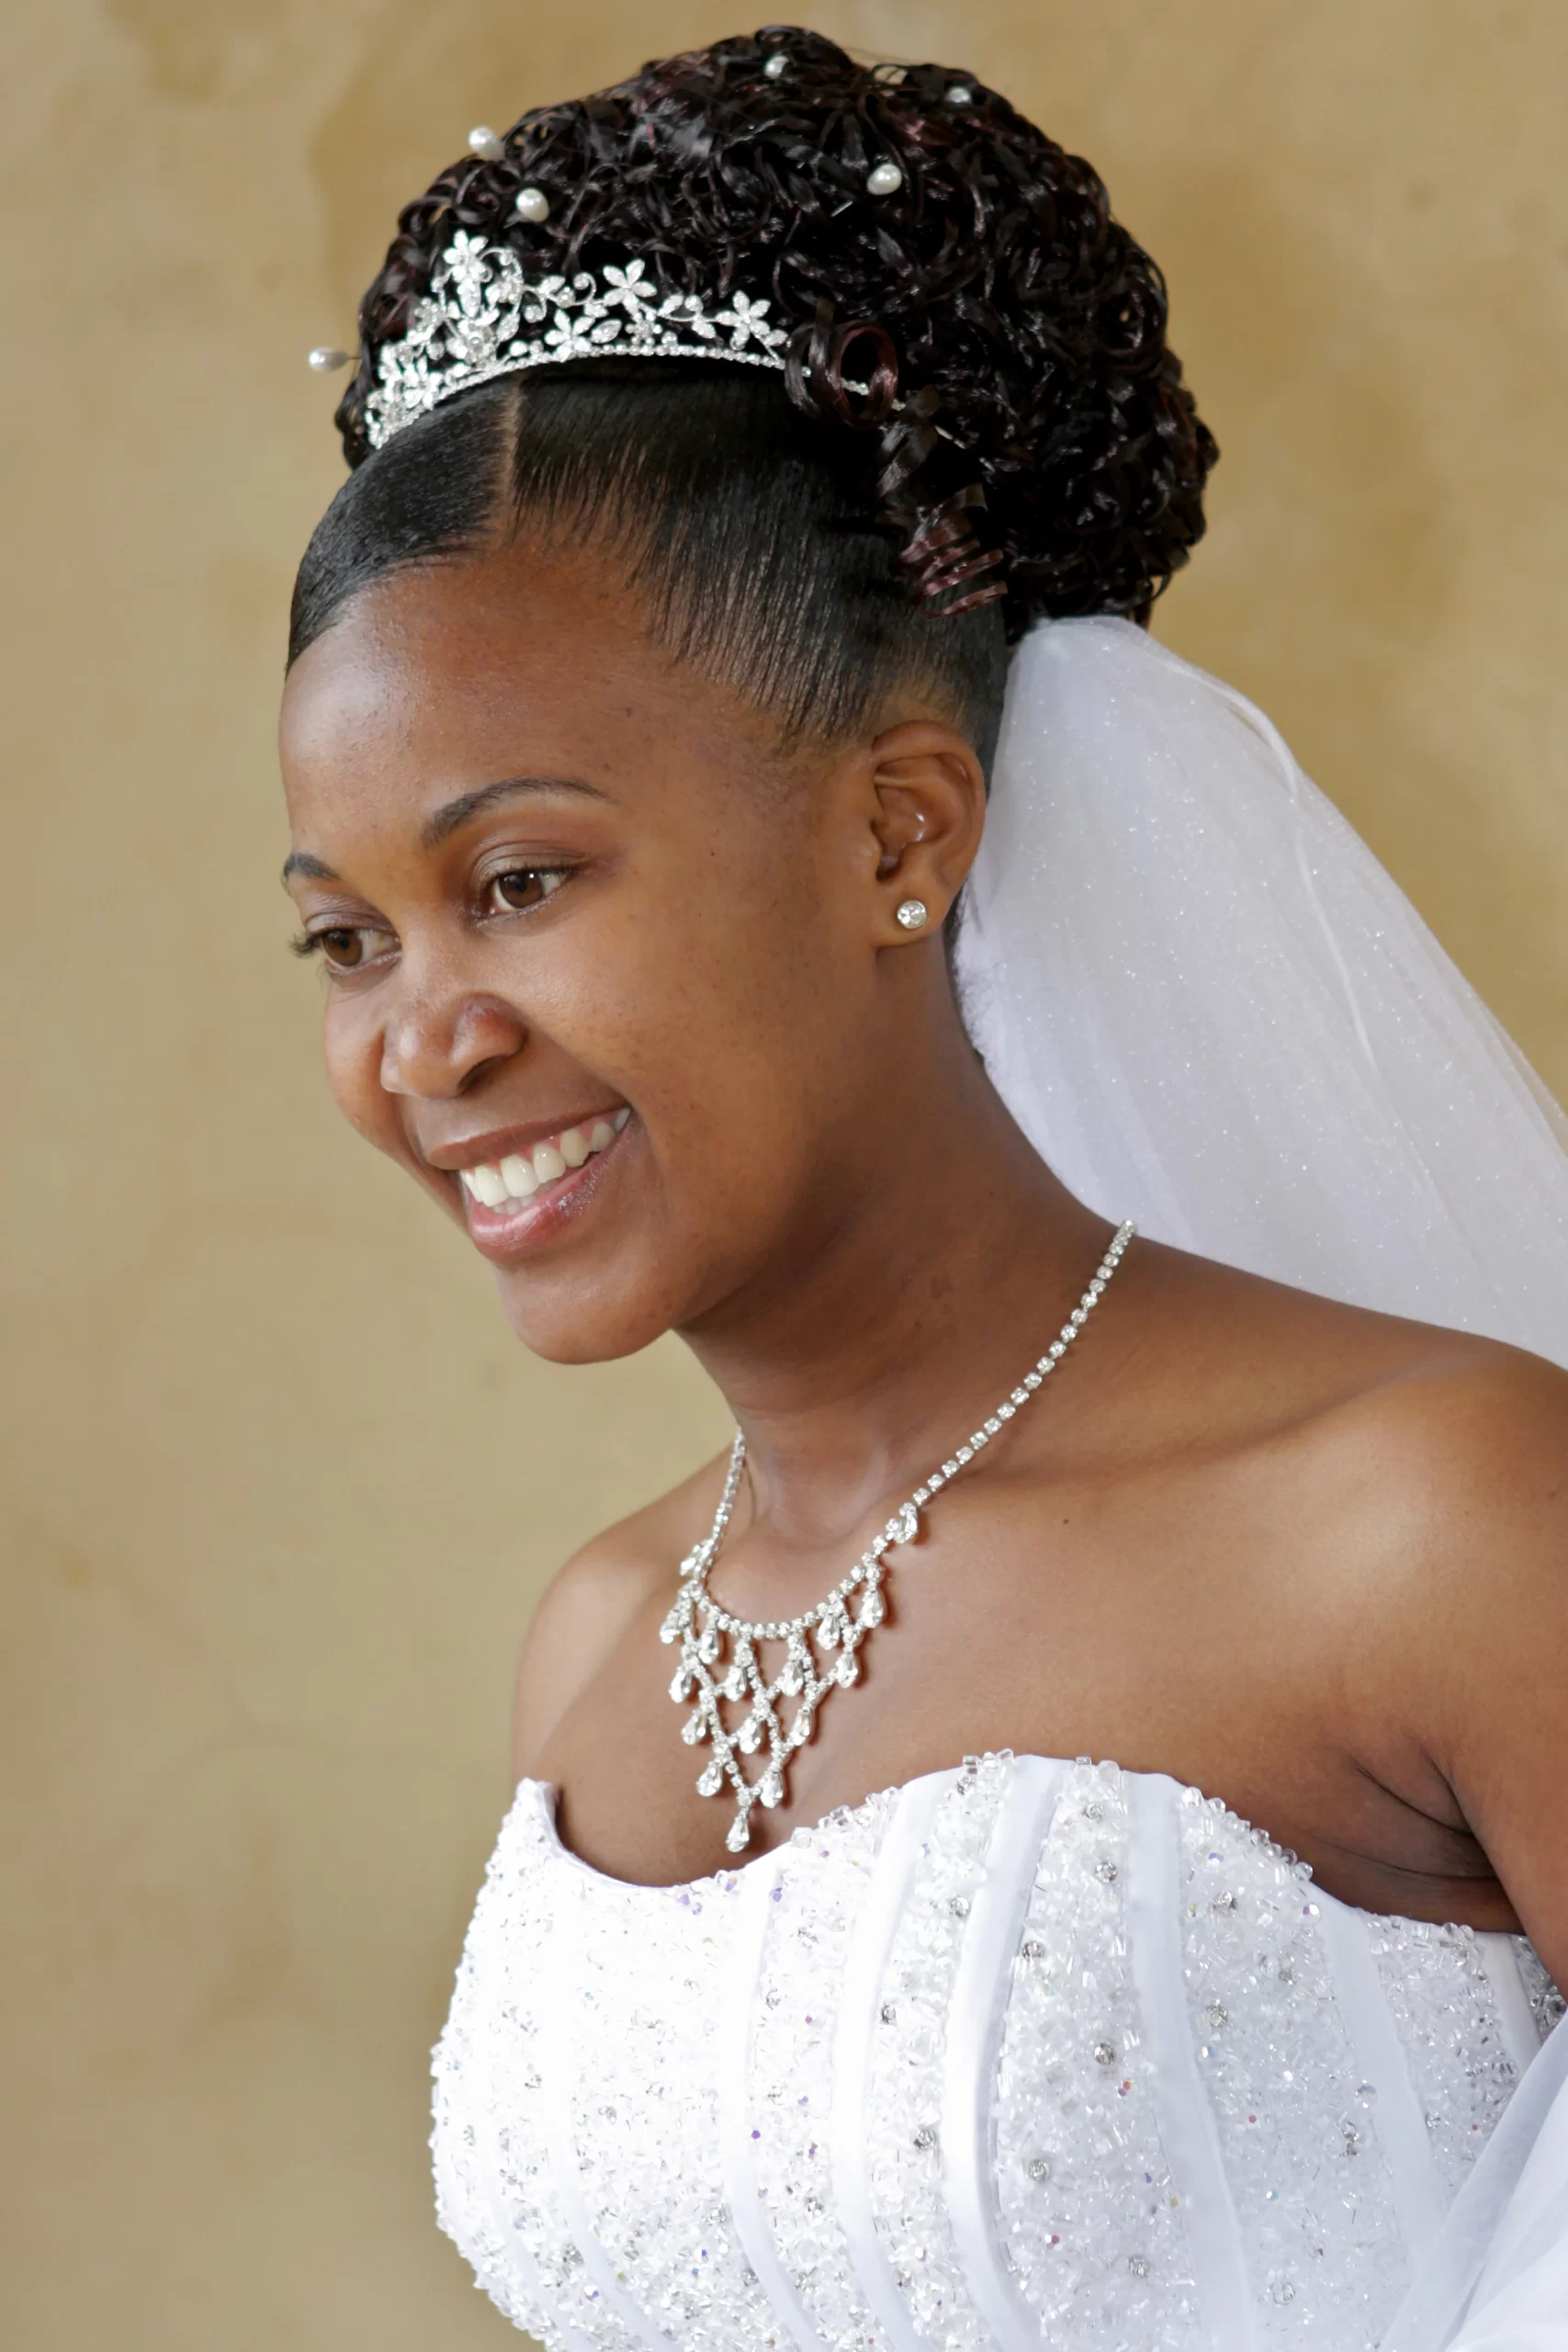
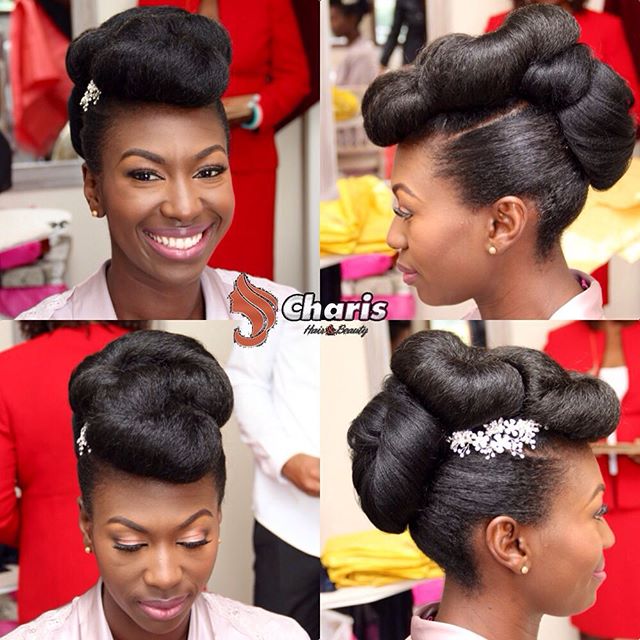
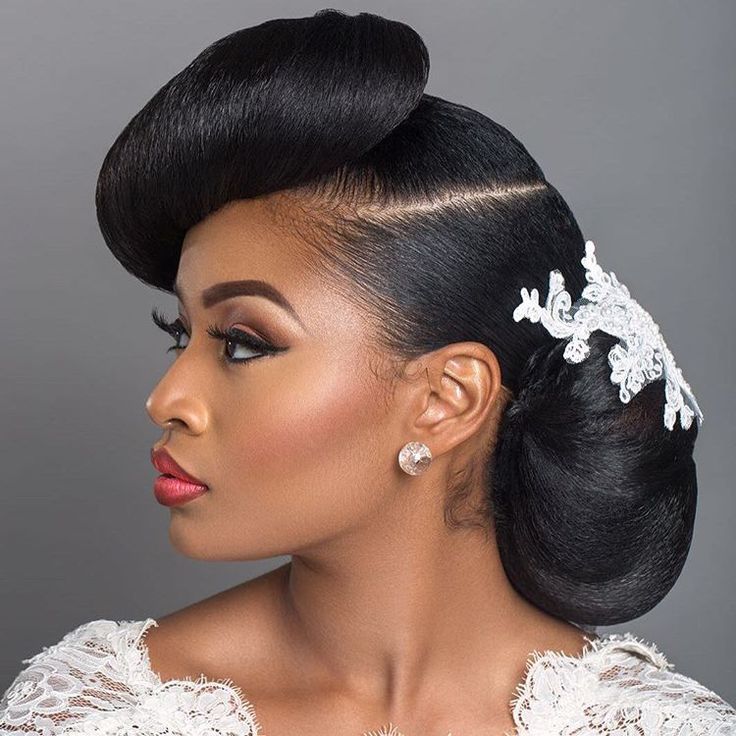
1. Cinnabun
What do you need?
- Moisturizer, sealant
- Hair gel
- Headband
- Bobby pins
- Silk/satin scarf
Step 1: Moisturize and seal your hair
- Your hair should be moisturized from the roots down with your leave-in moisturizing cream.
- Seal in moisture with a hair butter or cream like Shea butter.
Step 2: Smoothen your edges using gel
- Apply some styling gel to your hair and let it dry.
Step 3: Pull your hair back in a ponytail
- Use an elastic headband to tie your hair in a high ponytail.
Step 4: Take each section of hair and roll it.
- Next, take a section of your hair and start rolling from the ends to the roots.
- Secure the roll using a bobby pin and continue to do so until you’re done.
Step 5: Keep this hairstyle in place overnight
- You can finish your hairstyle by simply tying your silk/satin scarf around your edges.
- You can wear this style the next morning by wrapping a scarf around your head, then covering it with a bonnet, and finally, going to bed.
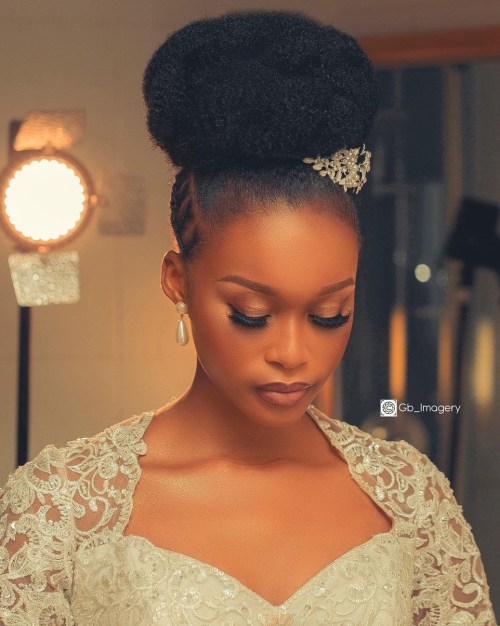
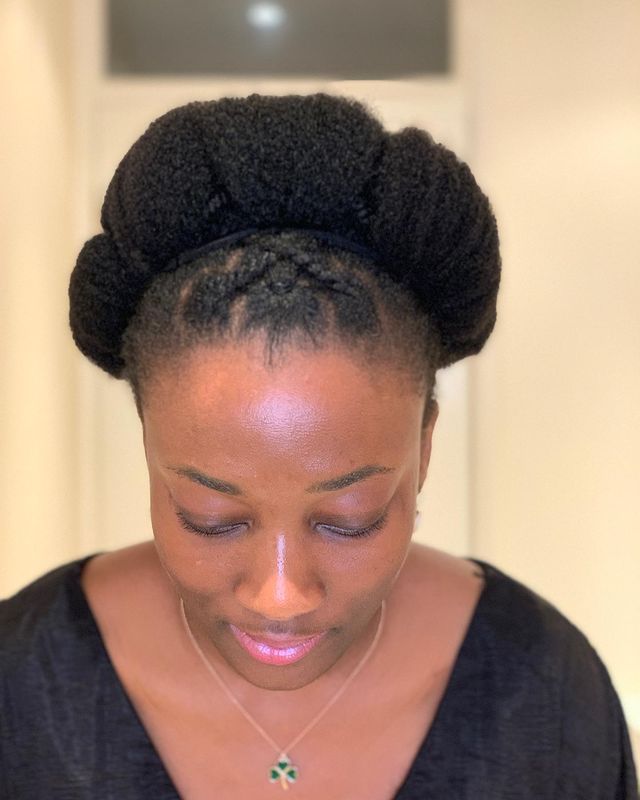
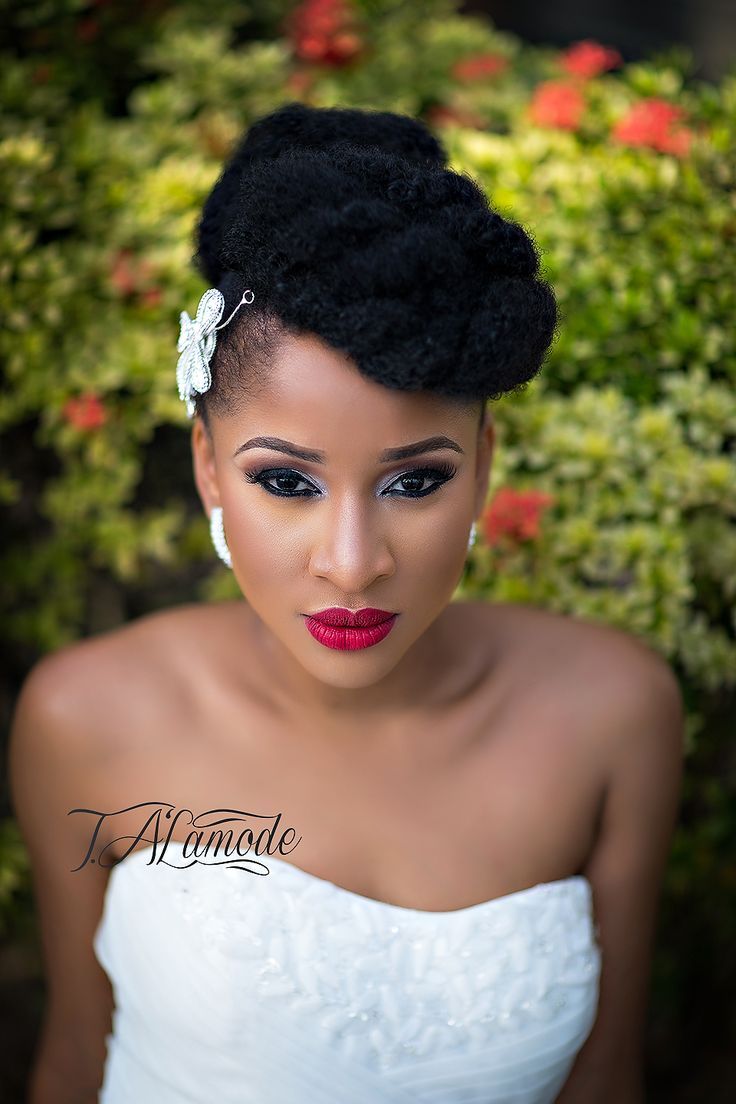
2. The Faux Bun
How to get the Faux Bun Hairstyle
My Natural Sistas will demonstrate how to make a faux bun with natural hair.
What do you need?
- One pack Kanekalon weave, or natural extension
- Bobby pins
- Elastic hairband
Step 1: Moisturize your hair
- Stretch your hair. To make your bun easier, it’s a good idea to straighten your hair first.
- Apply moisturizing cream to your hair, then brush it. You can go all the way to the middle, or you can go straight down. Follow these instructions:
Step 2: Apply gel on your hair
- Apply a generous amount of styling gel between your palms to your hair. Smoothen the ends and place flyaways.
Step 3: Secure your hair in a low bun
- Next, pull your hair into a low ponytail using your elastic hairband.
Step 4: Lay your hair down
- For a sleeker look, wrap a silk scarf or satin scarf around your hair. Leave it on for a few minutes.
Step 5: Attach your ponytail extension

- Next, tie your Kanekalon (or natural extension) to your bun and braid it.
- Then roll the ponytail extension clockwise to form a bun. Finally, tuck the ends of the ponytail with some bobby pins.
- You are ready to style your look!
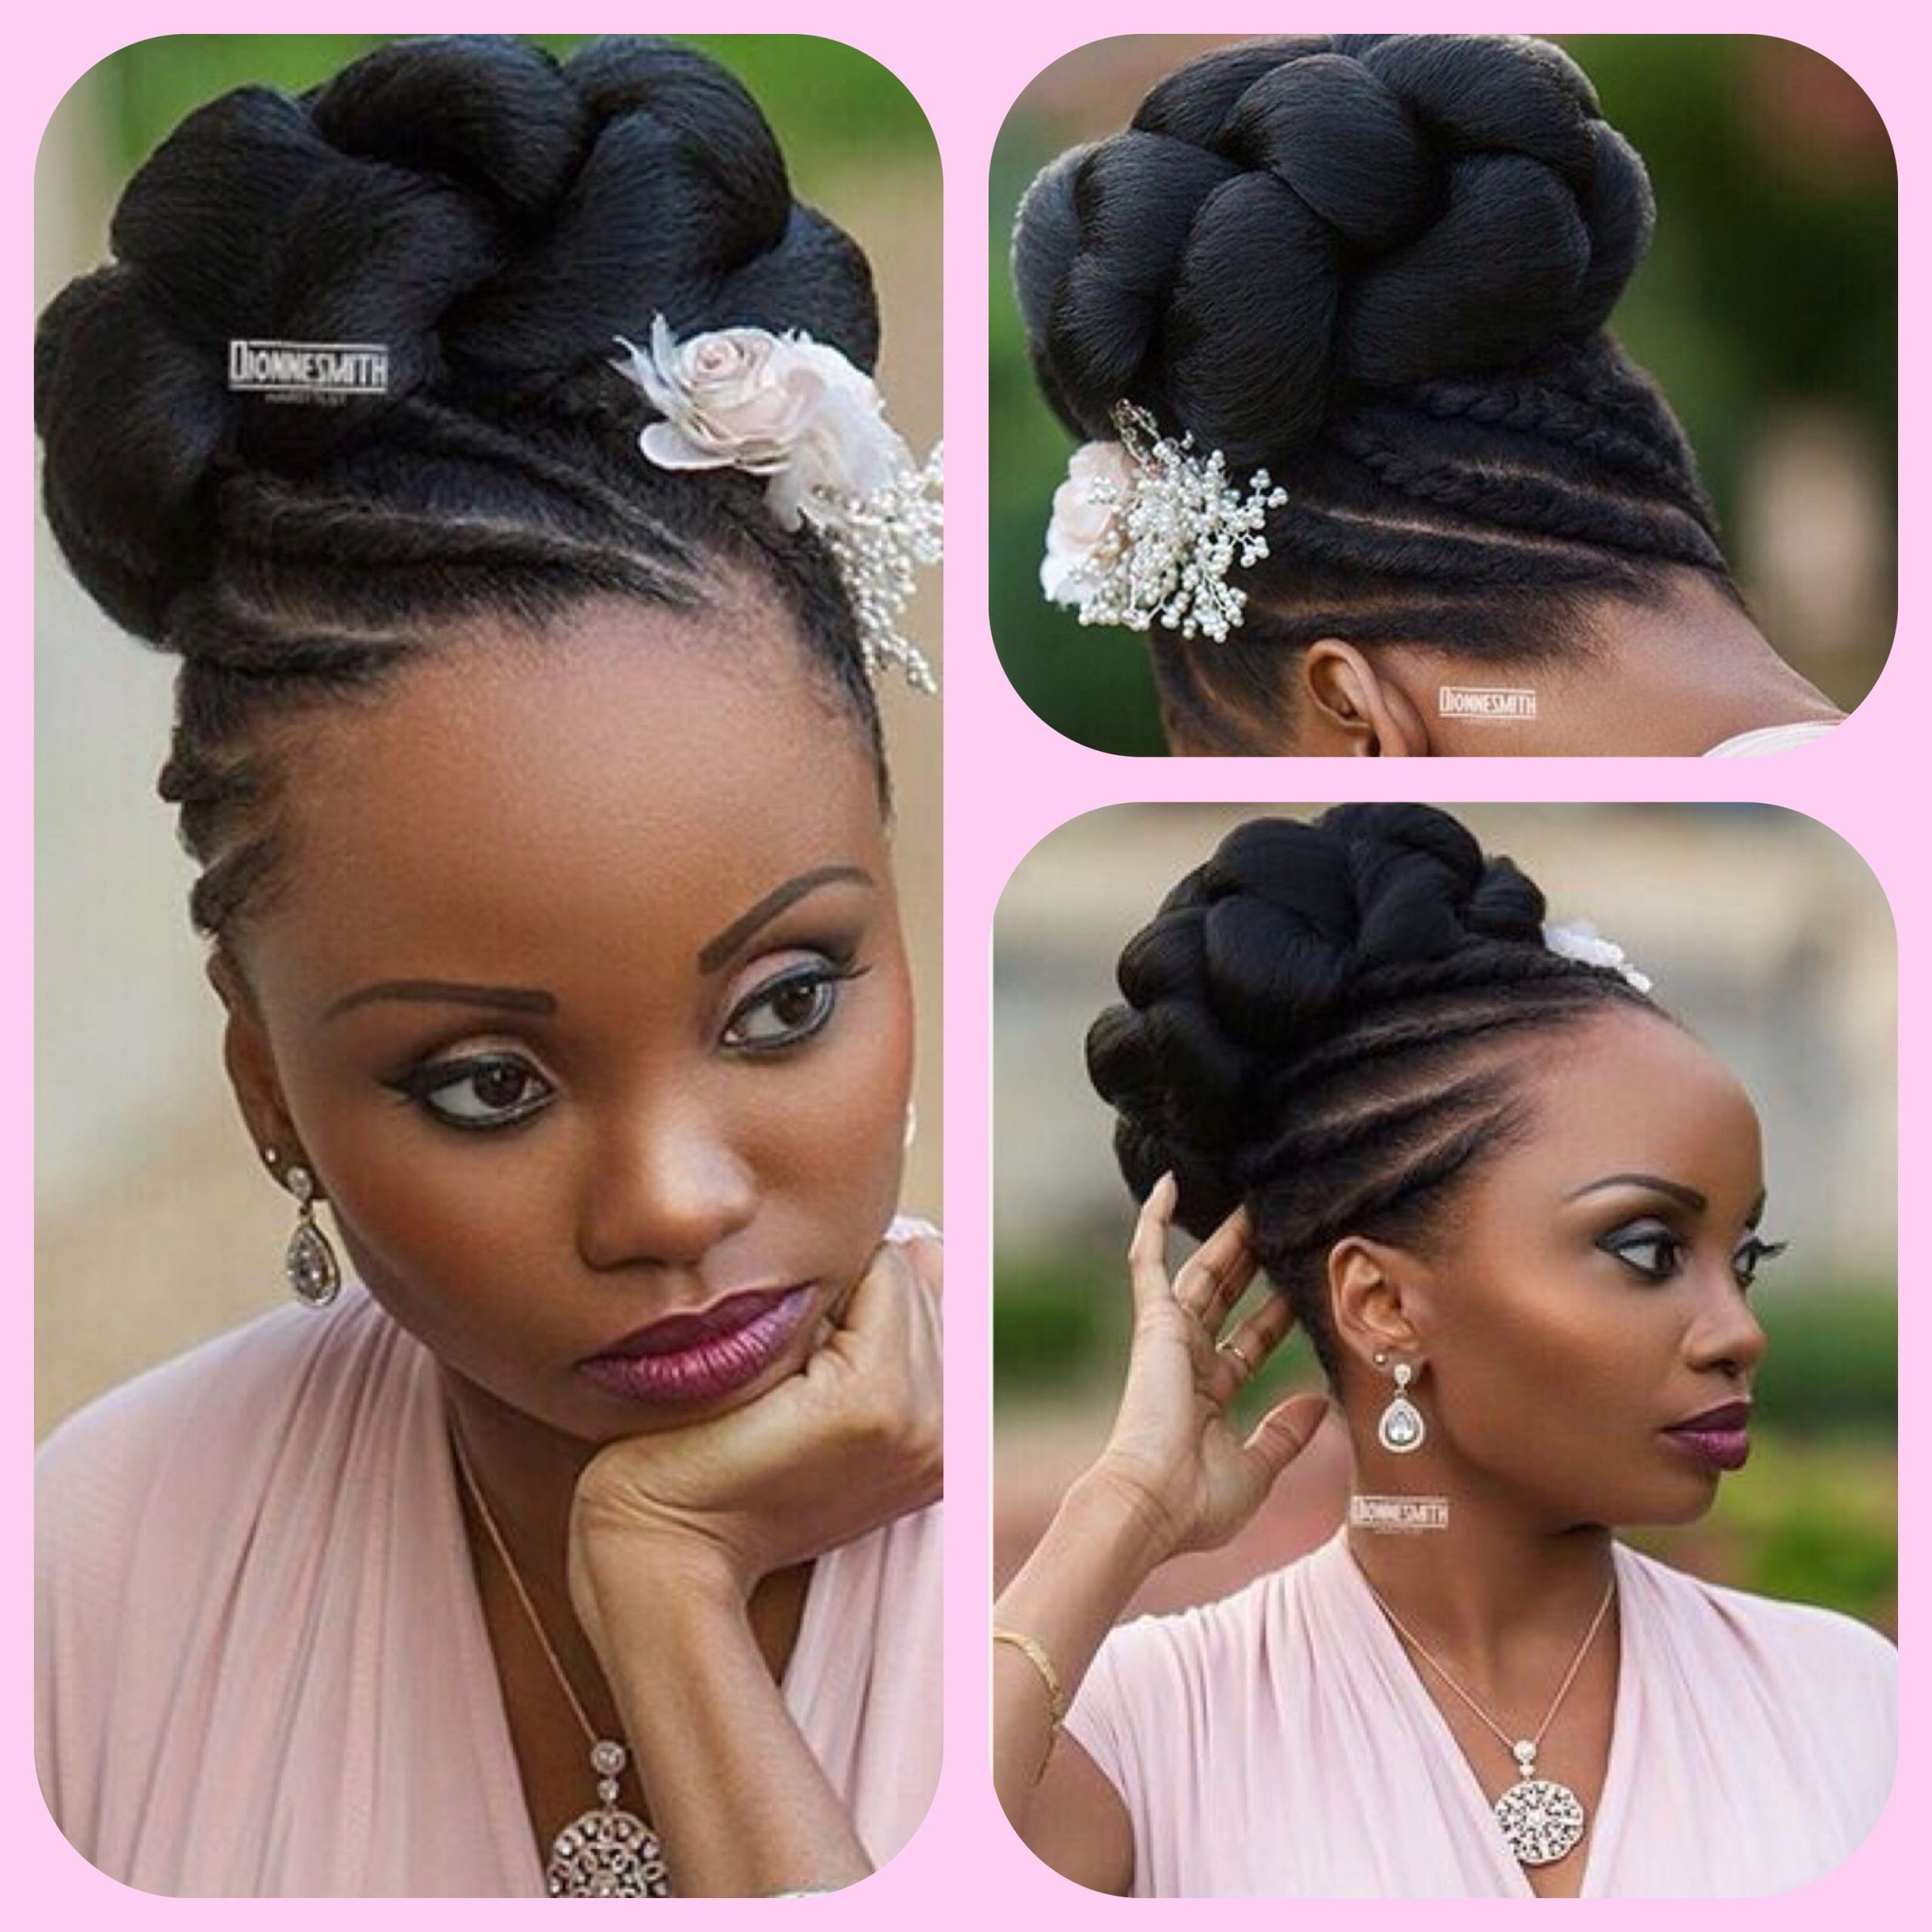
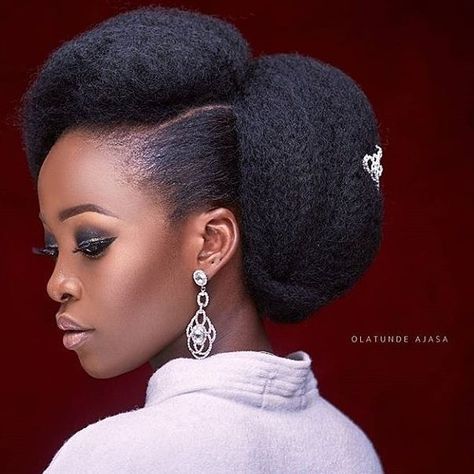
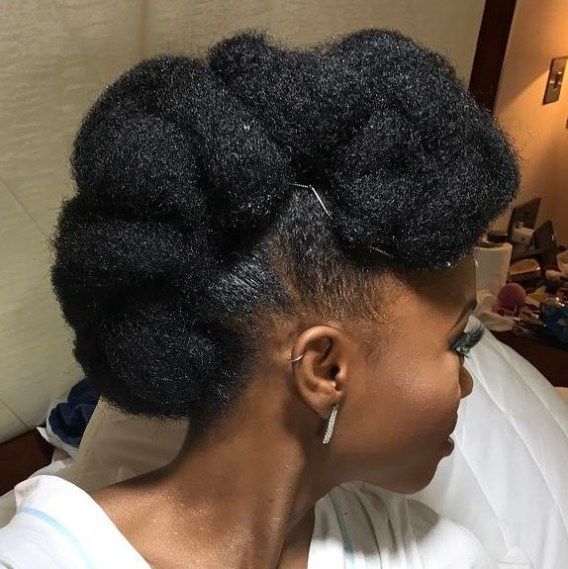
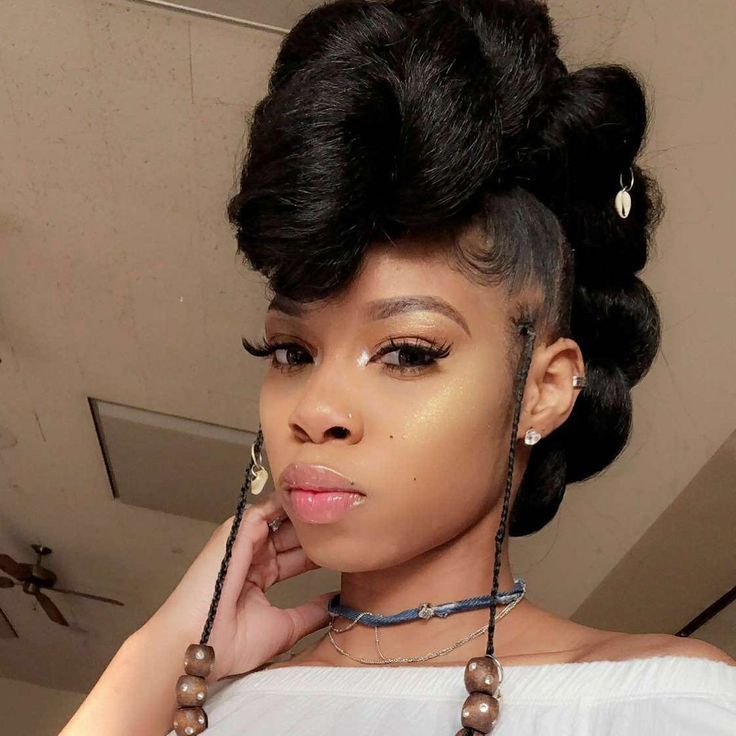
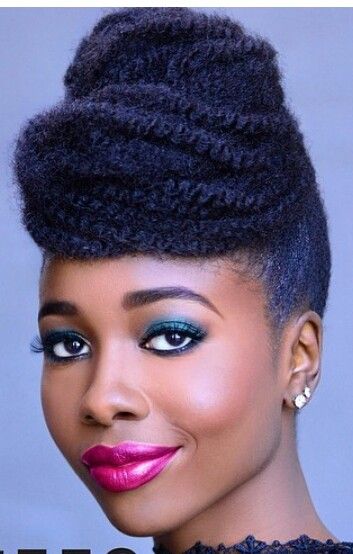
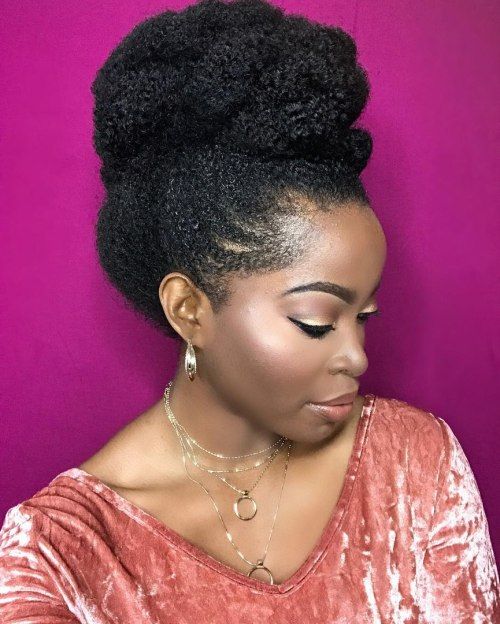
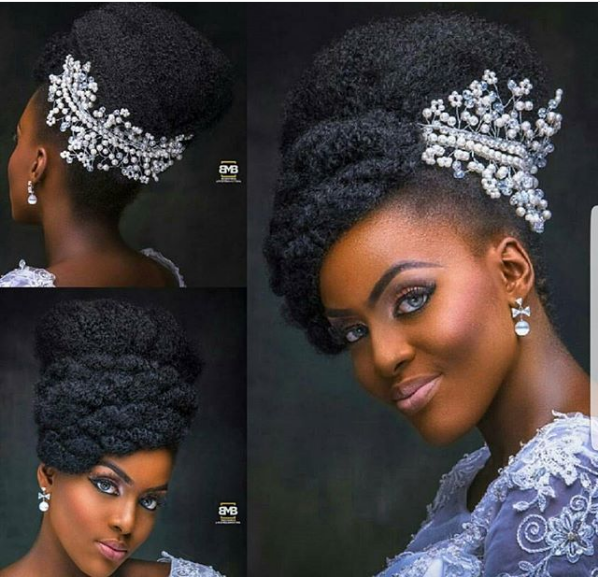
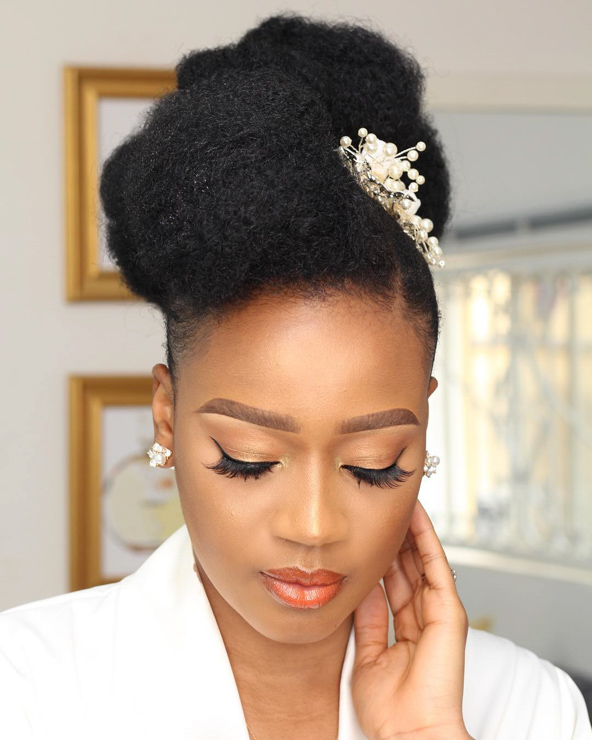
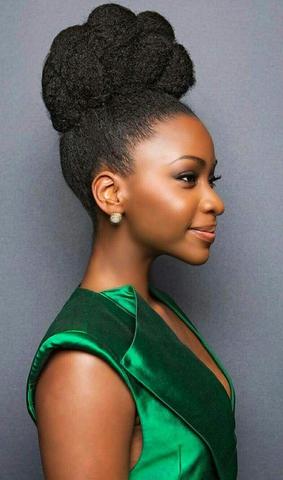
3. The Top Knot Bun
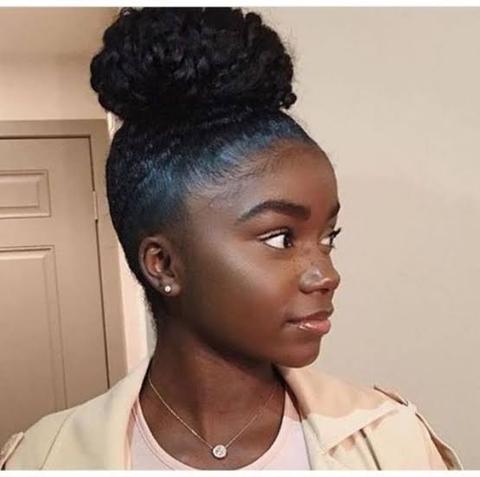
How to get the Top Knot Bun hairstyle
Rayann410 has a tutorial on how to make a top knot in your natural hair.
What do you need?
- Spray bottle of water or leave-in conditioner
- Hair gel
- Hairband
- Satin scarf
Step 1: Moisturize your hair
- Before styling your hair, you can stretch it out. You can stretch your hair by wearing braids or twists over the night.
- To give your hair some moisture, spray it with water or a leave-in conditioner.
Step 2: Apply gel on your hair
- Smoothen the gel around your edges with your hairbrush.
Step 3: Make your hair ponytail
- Next, curl your hair up into a high ponytail. Secure it with an elastic hairband.
Step 4: Create a high roll
- Then, split the ponytail in two and tie it up with a high-knit roll.
- To smoothen it, tie the satin scarf around your edges.
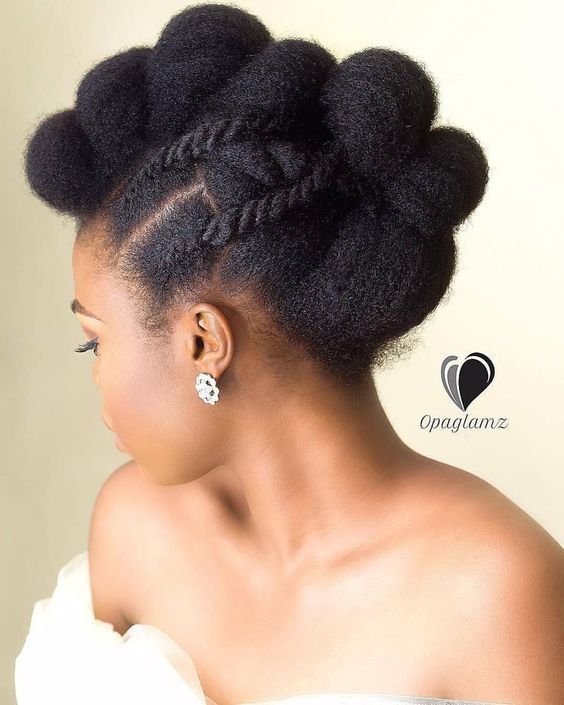
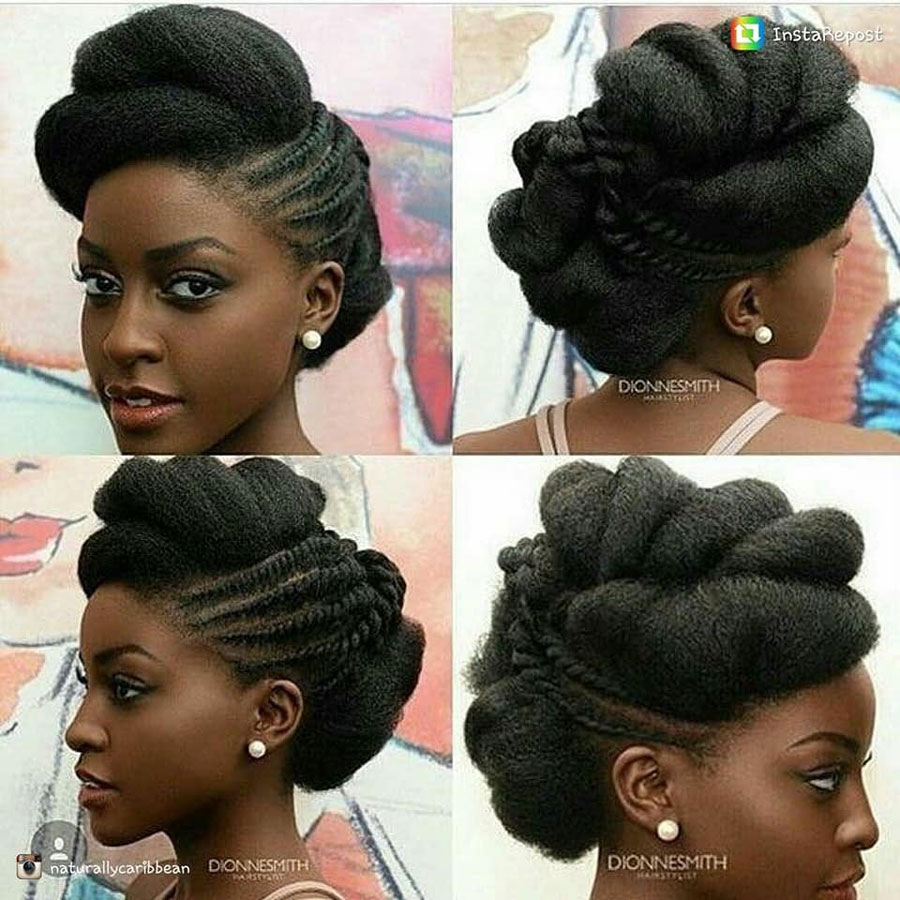
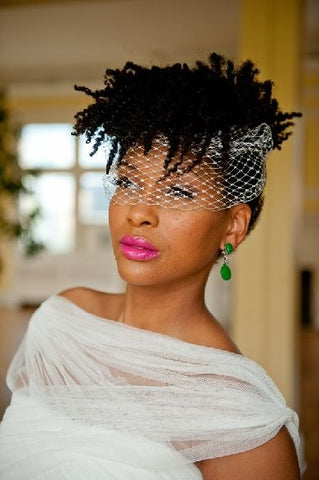
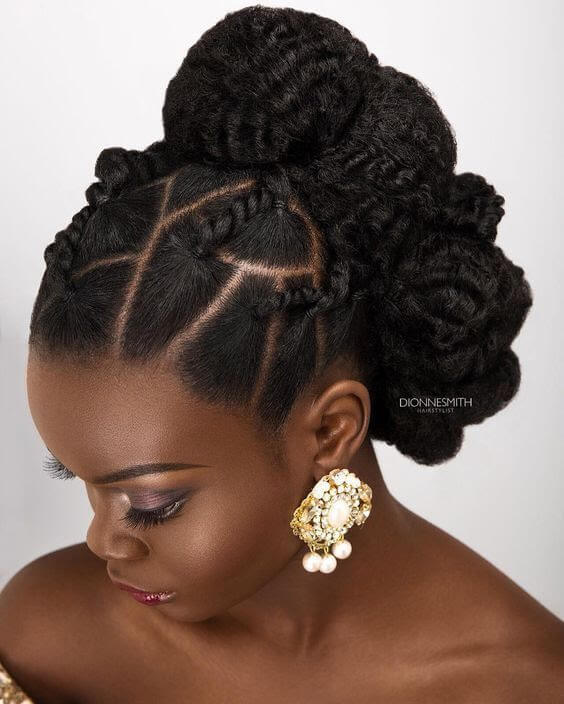
4. Twisted Mohawk
How to get the Twisted Mohawk style
Brittany Basden has a short tutorial on how to style a twisted mohawk.
What do you need?
- Elastic hairbands
- Bobby pins
Step 1: Part your hair
- Divide your hair into three sections: front, middle, back.
- Make a single braid from the middle section. Don’t braid all the ways.
Step 2: Twist and tie your hair
- Tie the ends of your hair with a band.
- Next, use your hair bands to tie your middle and back hair into ponytails. Make little twists with them. These twists do not need to be neatly separated.
Step 3: Wrap the twists
- Wrap the twists around to achieve your desired look, then tuck them in using bobby pins.
Step 4: Cover the front part of your hair
- This step can be repeated for the front hair.
- Split your hair into three sections and twist them. Wrap them around.
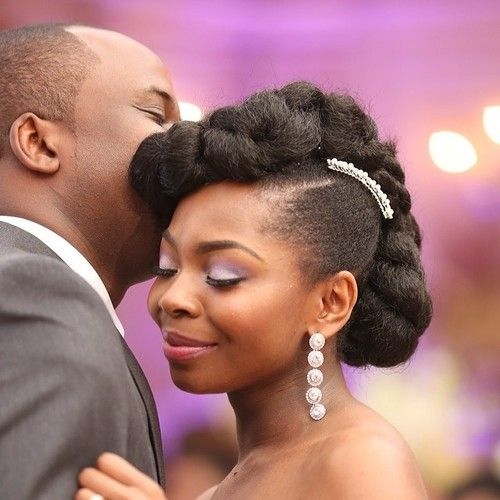
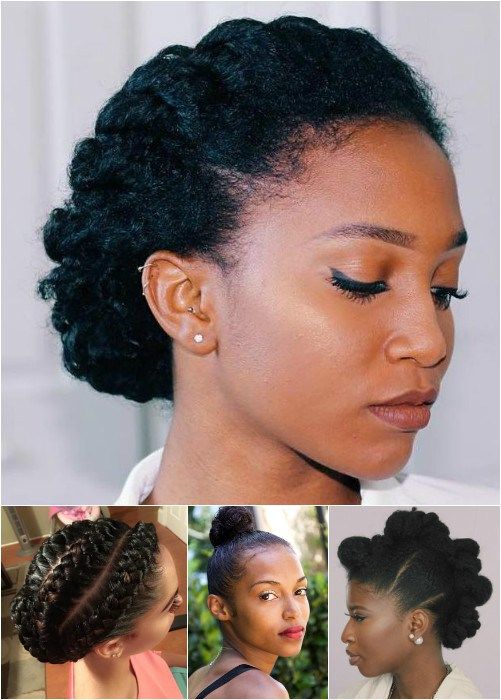
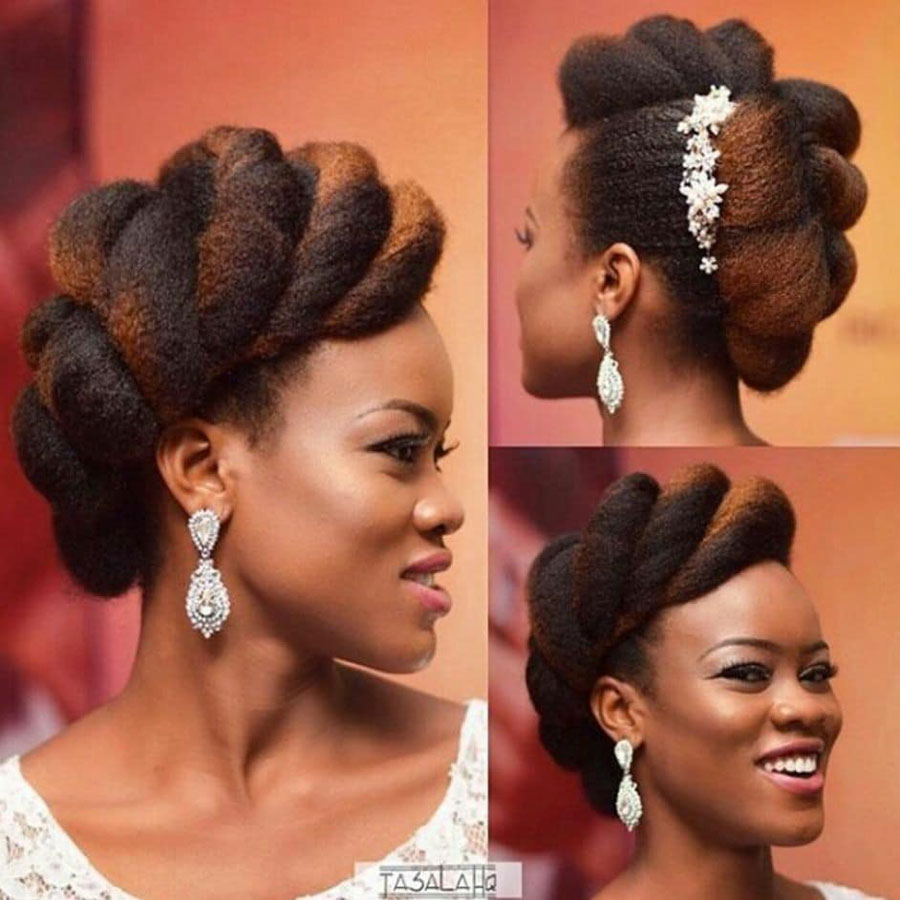
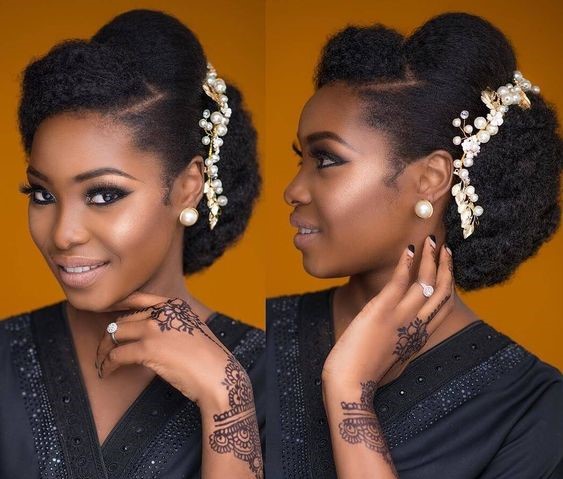
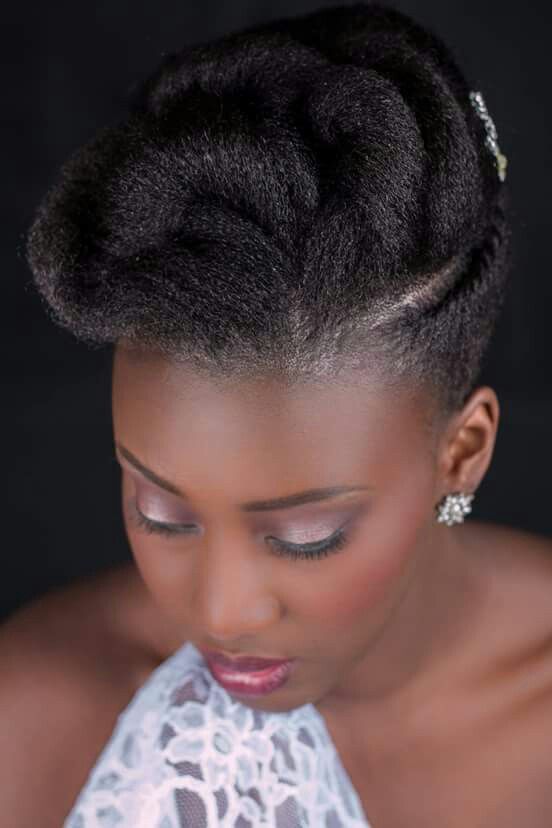
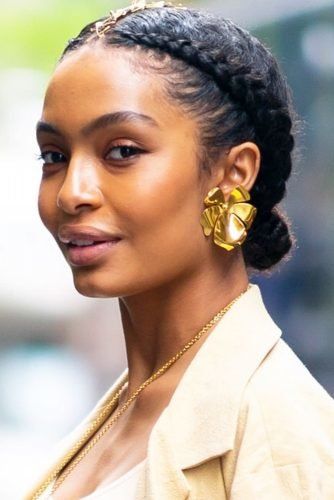
5. The Twisted Crown
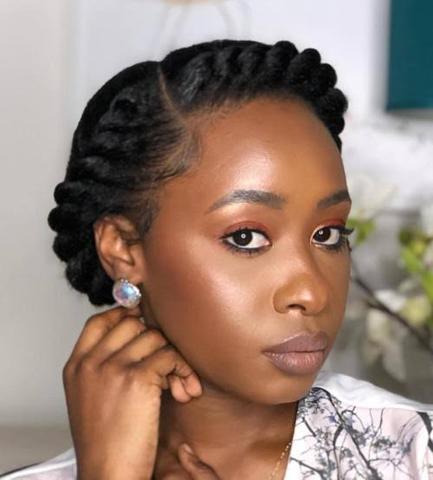
How to get the Twisted Crown hairstyle
Natural85’s video tutorial will show you how to create the twisted crown look.
What do you need?
- Tail Comb
- Styling cream
- Hairbrush
- Bobby pins
- Satin scarf
Step 1: Untangle and straighten your hair
- Start with straight, untangled hair.
Step 2: Part your hair
- Use a tail comb to create a long, angled section that runs from the top of the head down to the bottom. Split the tail comb all the way to create two equal halves.
Step 3: Moisturize your hair
- Apply your styling cream to your hair, then smoothen the edges with a hairbrush.
Step 4: Flat twist both sections
- Flat twist one section of your hair from the top all the way down to the back. Then, bobby pins the ends.
- You can do the same for the second section.
- Then tie your satin scarf and let your hair fall.